Step 1
Your profile
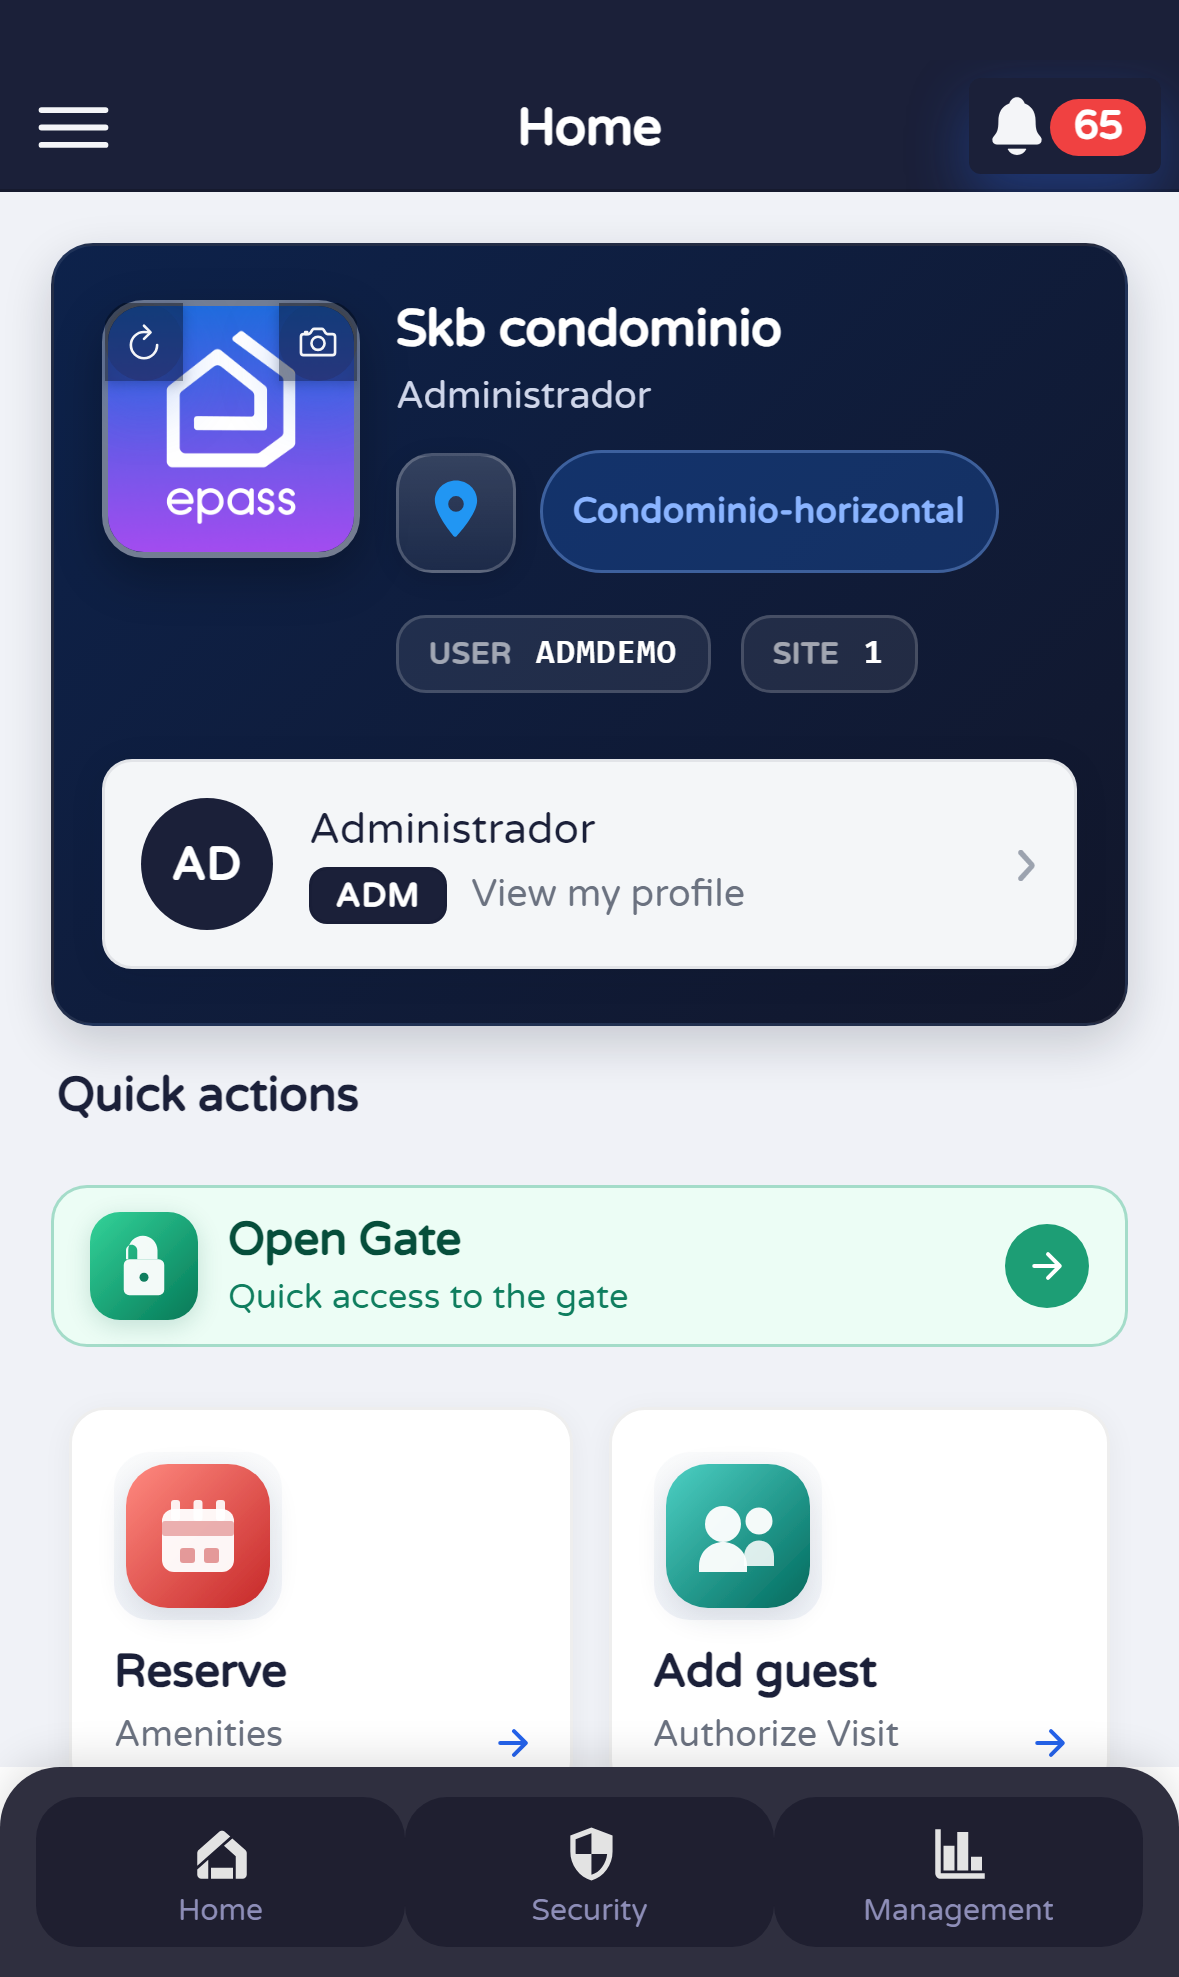
Open the Profile tab at the bottom. There you see your own summary and shortcuts. In the next step you will switch to Security.

Document version 0.0.1 · Generated 15 May 2026, 09:28
PDF: in the browser use Ctrl+P (or Cmd+P) → Save as PDF to share or archive.
This document brings together the main tasks you can do from the Users list in Security: create a new login, edit someone’s details, change their password, review sessions, send the official flyer by email (administrators only), and deactivate an account. Each section has its own steps and pictures.
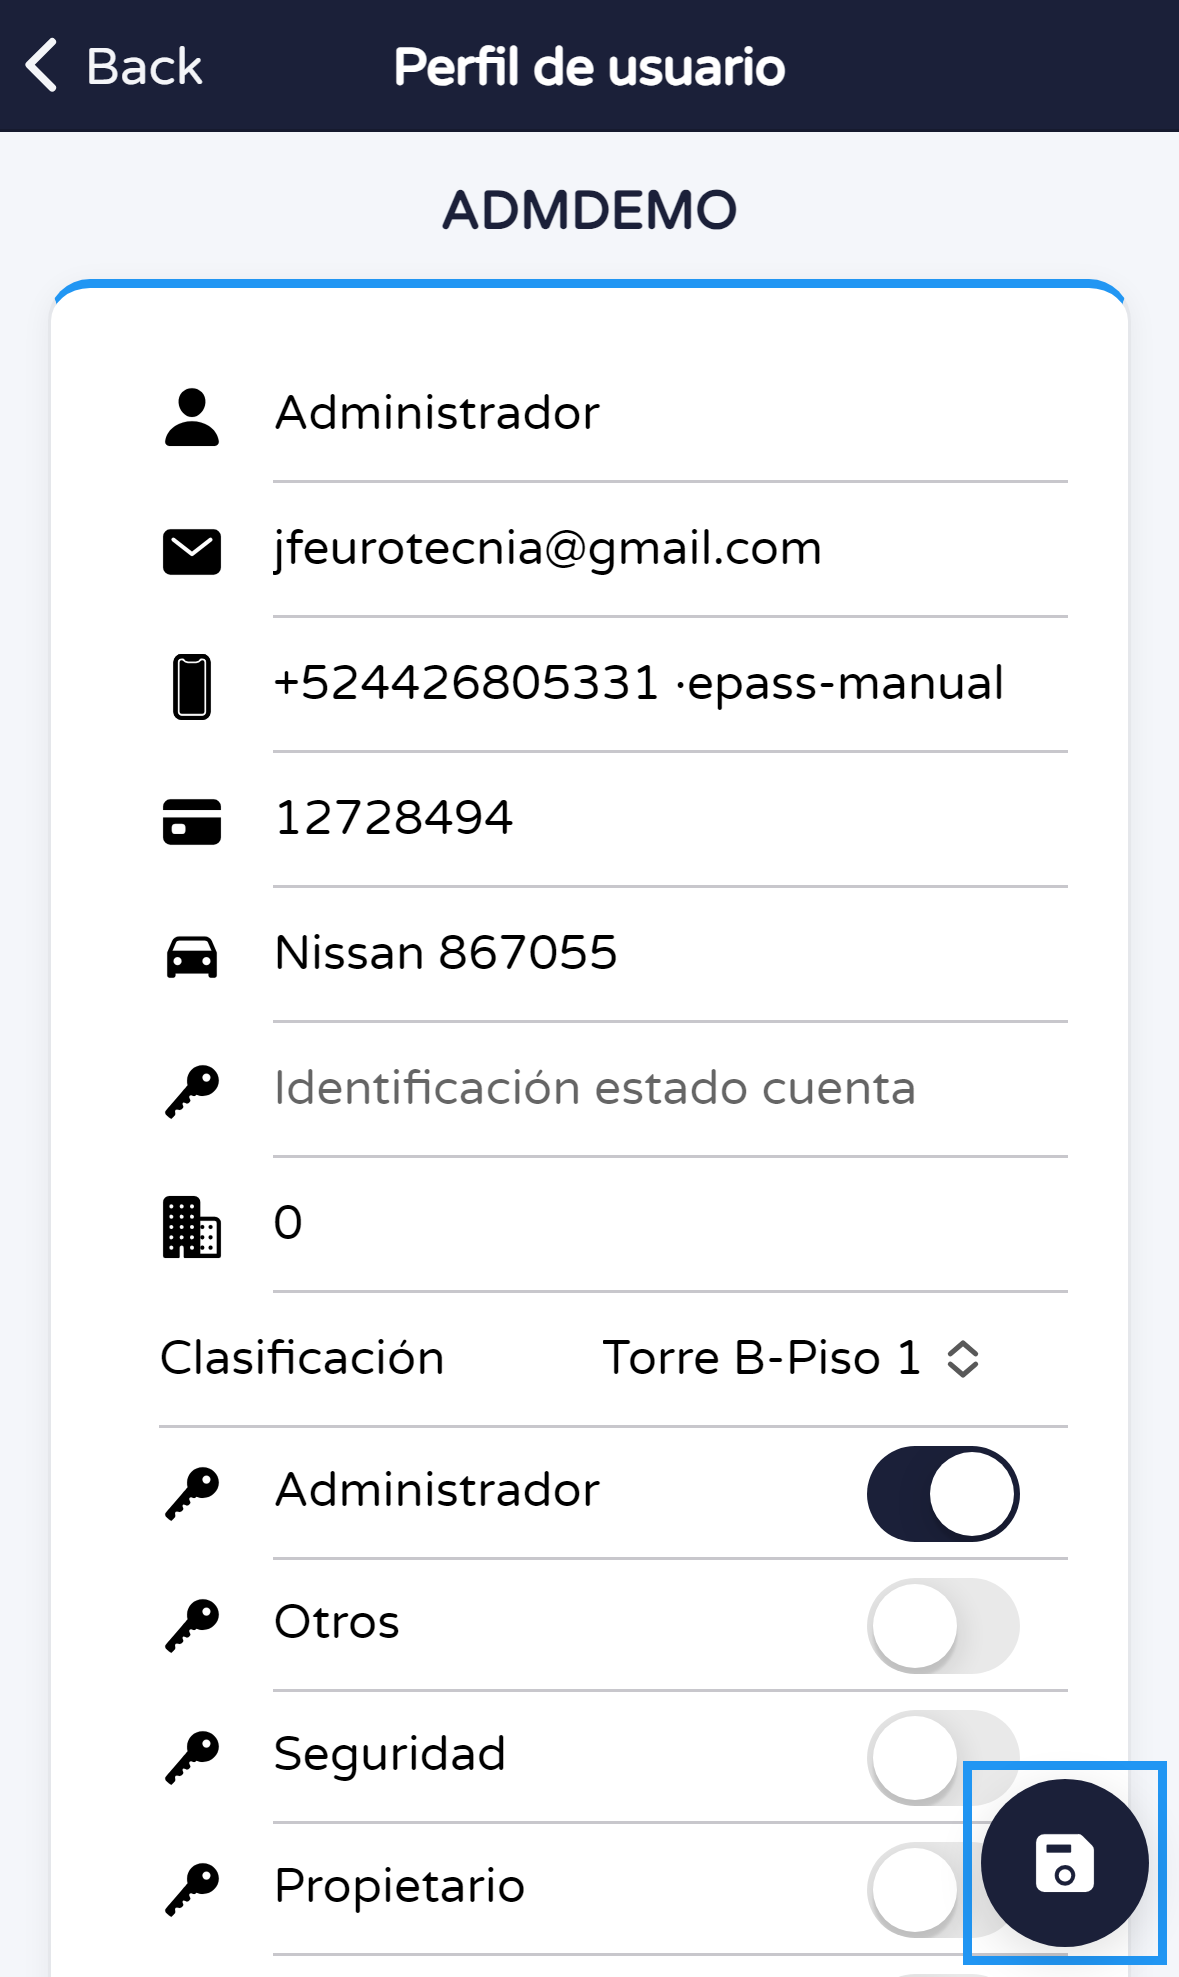
If a picture shows a blue frame, it is only to help you follow the guide; it is not part of the app. You can also open each topic as a separate short manual in the same folder tree if you prefer a smaller document.
Before you start
Who can do what (summary)
This table is a quick reference. Your community may configure roles slightly differently.
| Task | Chief / Supervisor | Administrator | Security |
|---|---|---|---|
| View user list | Yes | Yes | Yes (read-only) |
| Create user | Yes | Yes | No |
| Edit user | Yes | Yes | No |
| Change another user’s password | Yes | Yes | No |
| Sessions and devices | Yes | Yes | Limited |
| Send flyer by email | No | Yes | No |
| Deactivate user | Yes | Yes | No |
Contents
Jump to a section:
Almost every task in this guide starts the same way. Once you are on the list, open a person’s card to see the menu of actions.
Open the Profile tab at the bottom. There you see your own summary and shortcuts. In the next step you will switch to Security.
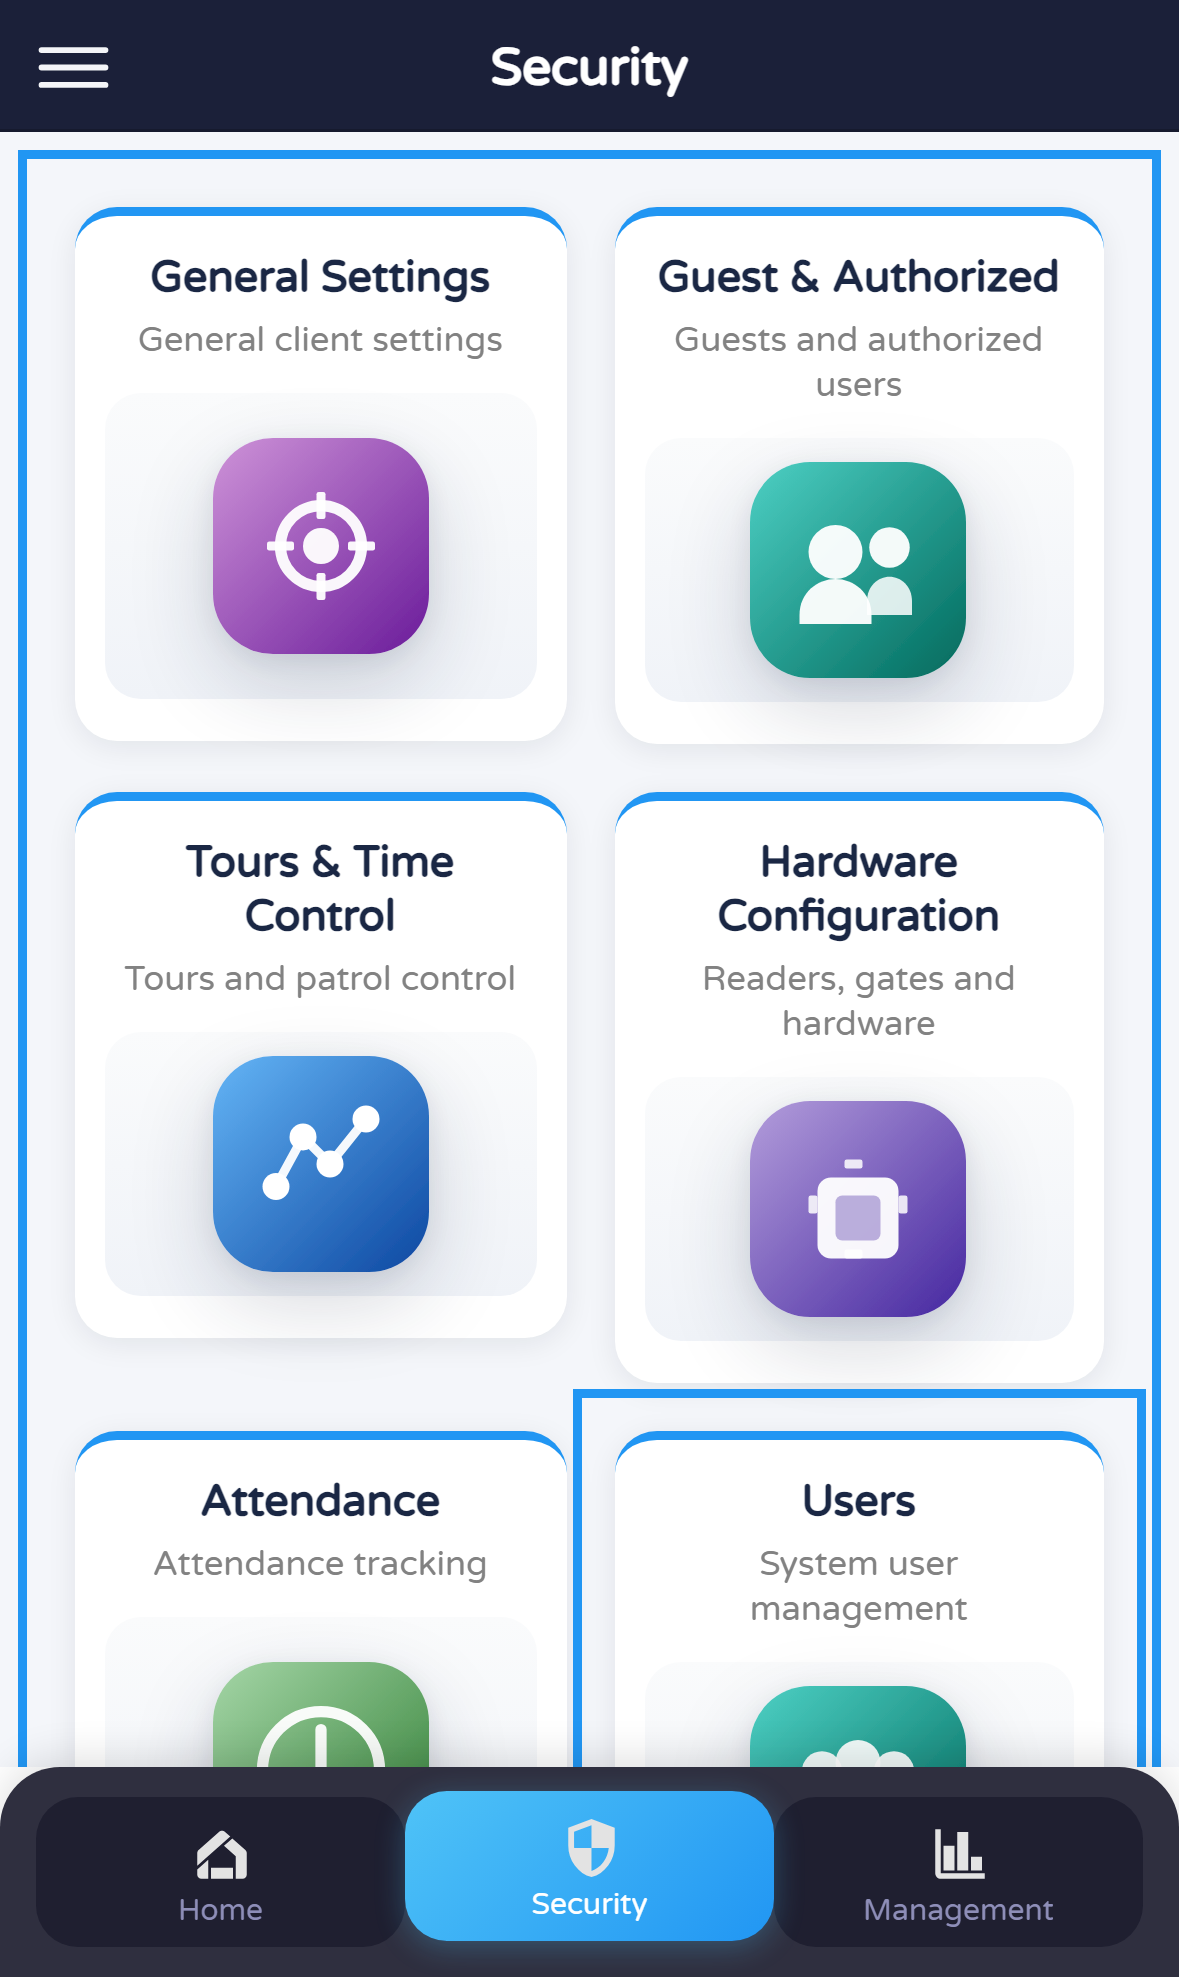
Tap Security in the bottom bar. You will see the Security screen with several large shortcuts (each one opens a different task). Find the one named Users (or the people icon with that label).
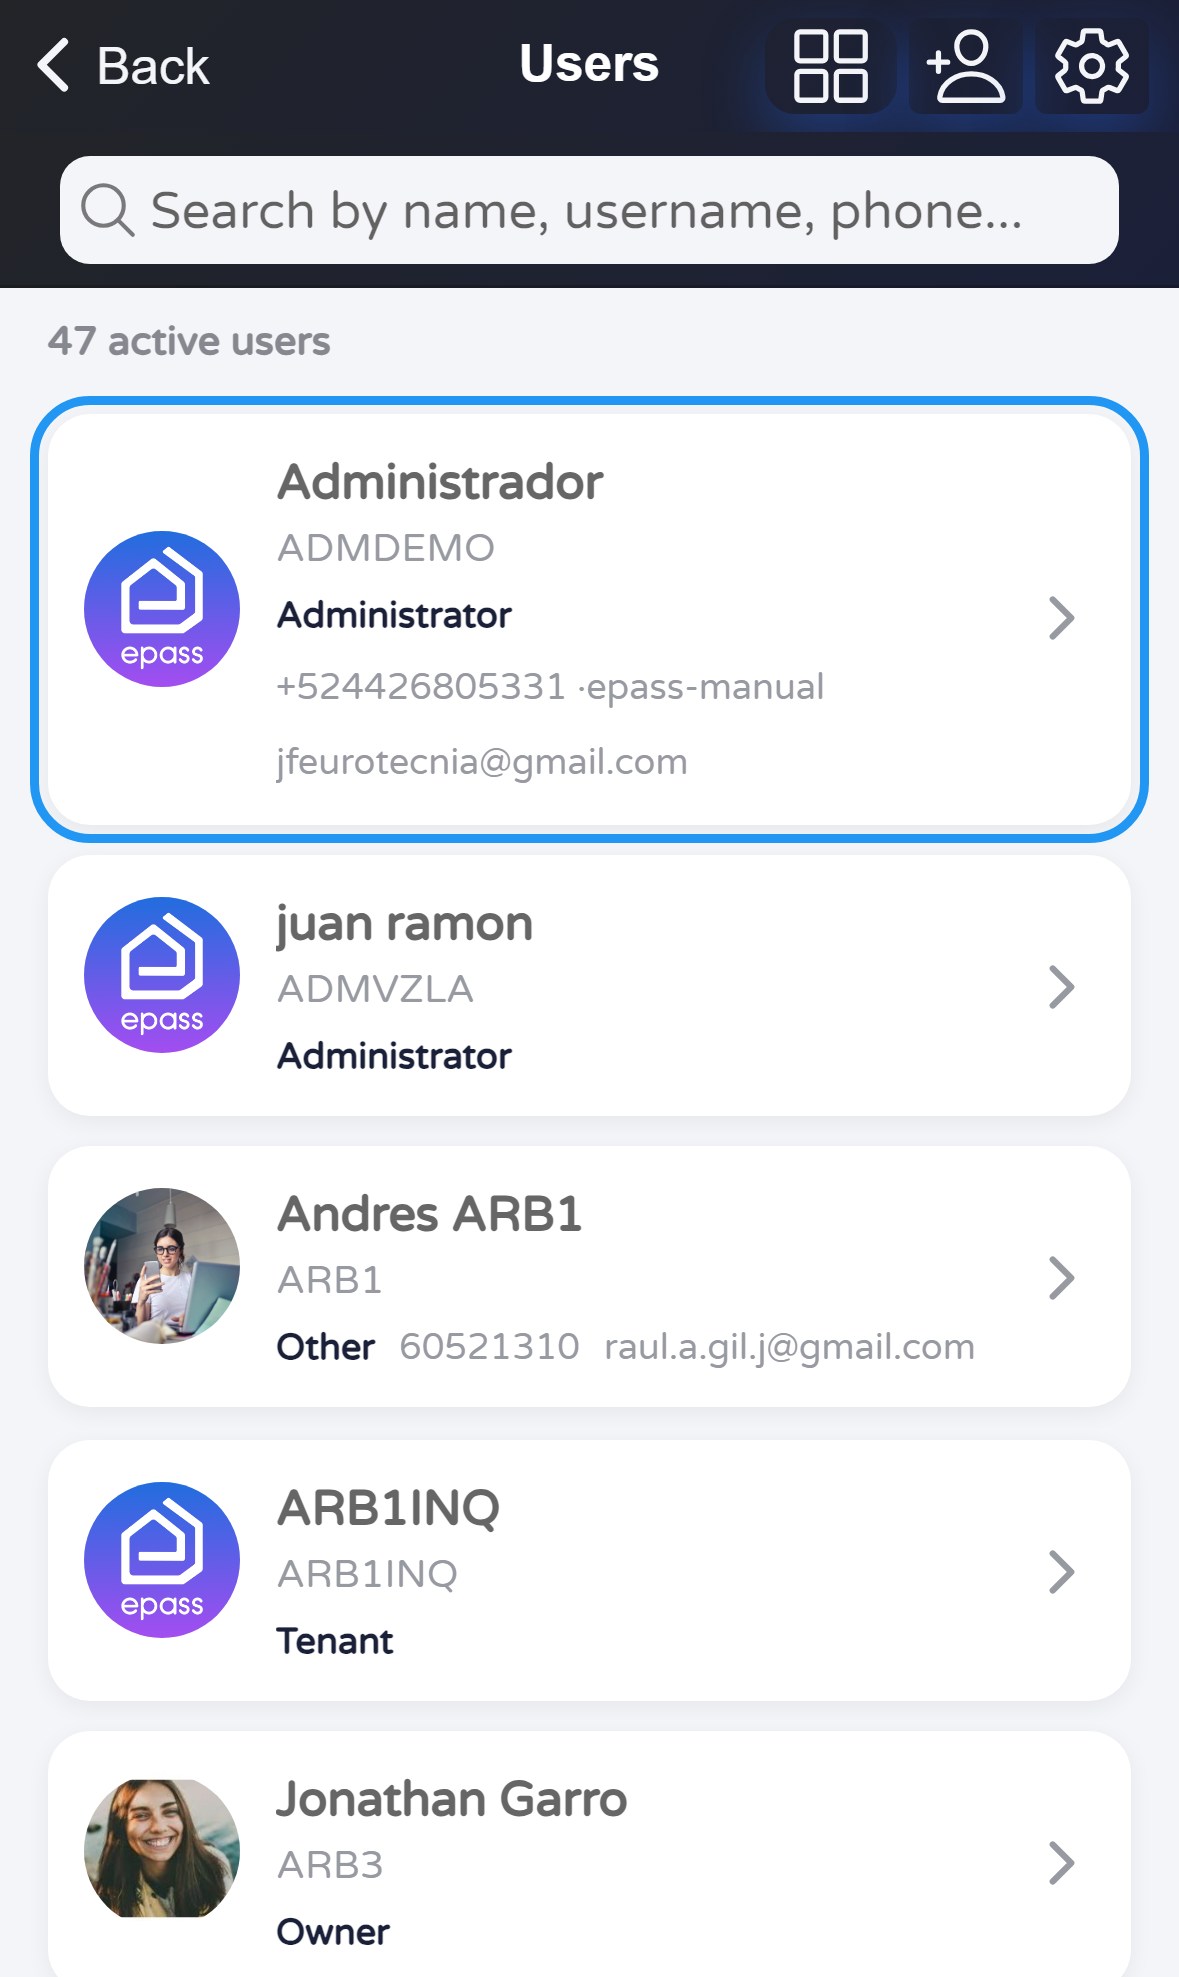
Tap Users. Wait until the list of people appears. Tap the first card in the list (the example uses the first row). A menu opens from the bottom: tap Edit. The app will ask if you really want to continue: tap Edit again. Then you will see that person’s details on the next screen.
You will open Profile → Security → Users, tap the add person icon, confirm that you want to add someone, and type the new username before tapping Create.
From Profile, go to the Security tab. Tap Users. When the list loads, look at the top bar on the right: the add person icon (outline of a person with a plus) starts the process.

A message asks whether you are sure. Tap Add to continue to the username step, or Cancel to stop.

Type the new username (it is stored in uppercase). Tap Create only when the name is correct and not already used. Tap Cancel to close without creating anyone.

If the username is free, the app creates an active account with a short random initial password and a default role (usually resident). A success message appears. Change the user’s password, or complete the email field so the person can recover the password from their email.
If the username already exists, the app shows an error and asks you to pick another name. You can then open that person in the list and use Edit to complete their profile.
You will open Profile, then Security, then Users. You will choose someone, tap Edit, confirm when the app asks, change information (for example the phone), tap Save, and confirm again.
Tap Users. Wait until the list of people appears. Tap the first card in the list (the example uses the first row). A menu opens from the bottom: tap Edit. The app will ask if you really want to continue: tap Edit again. Then you will see that person’s details on the next screen.

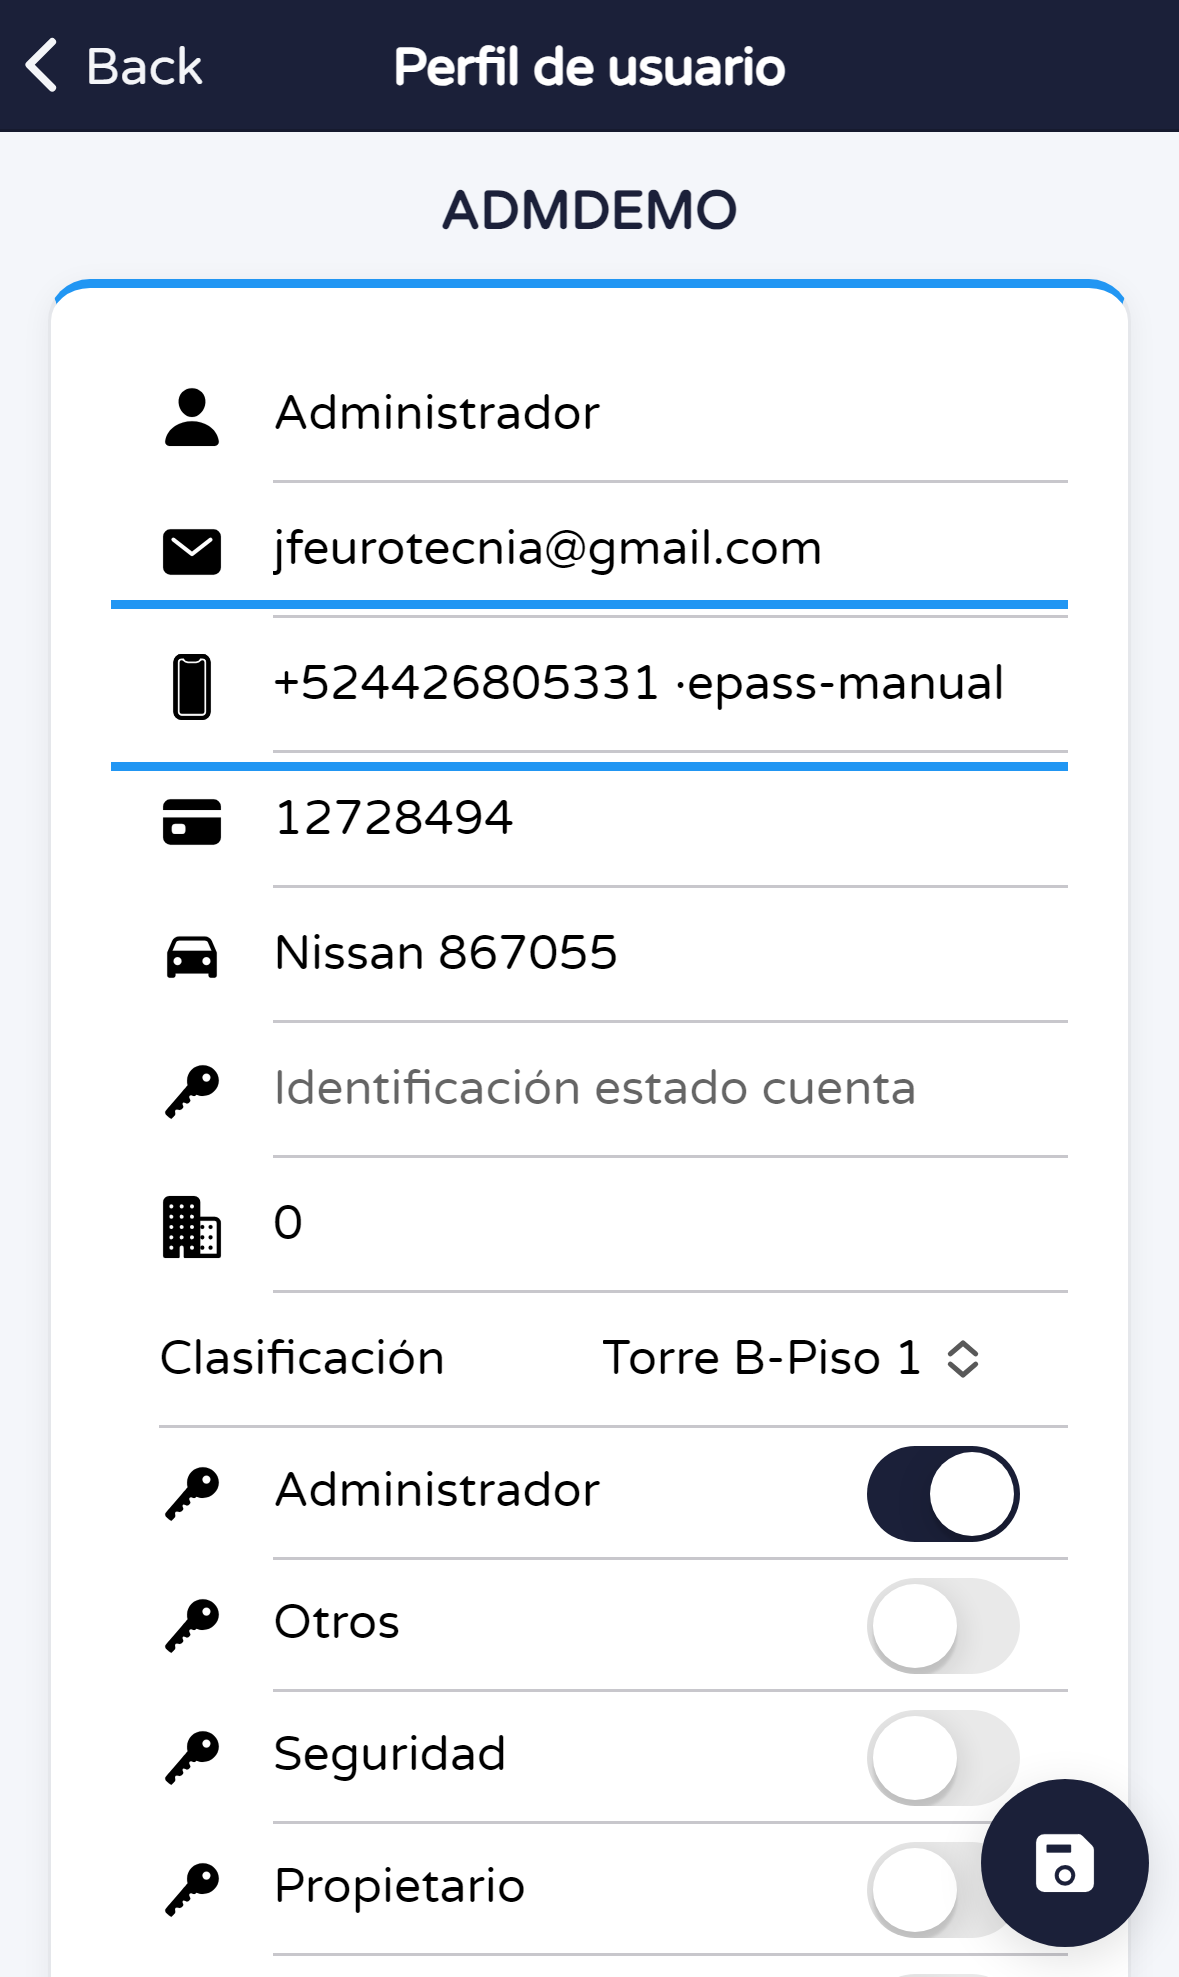
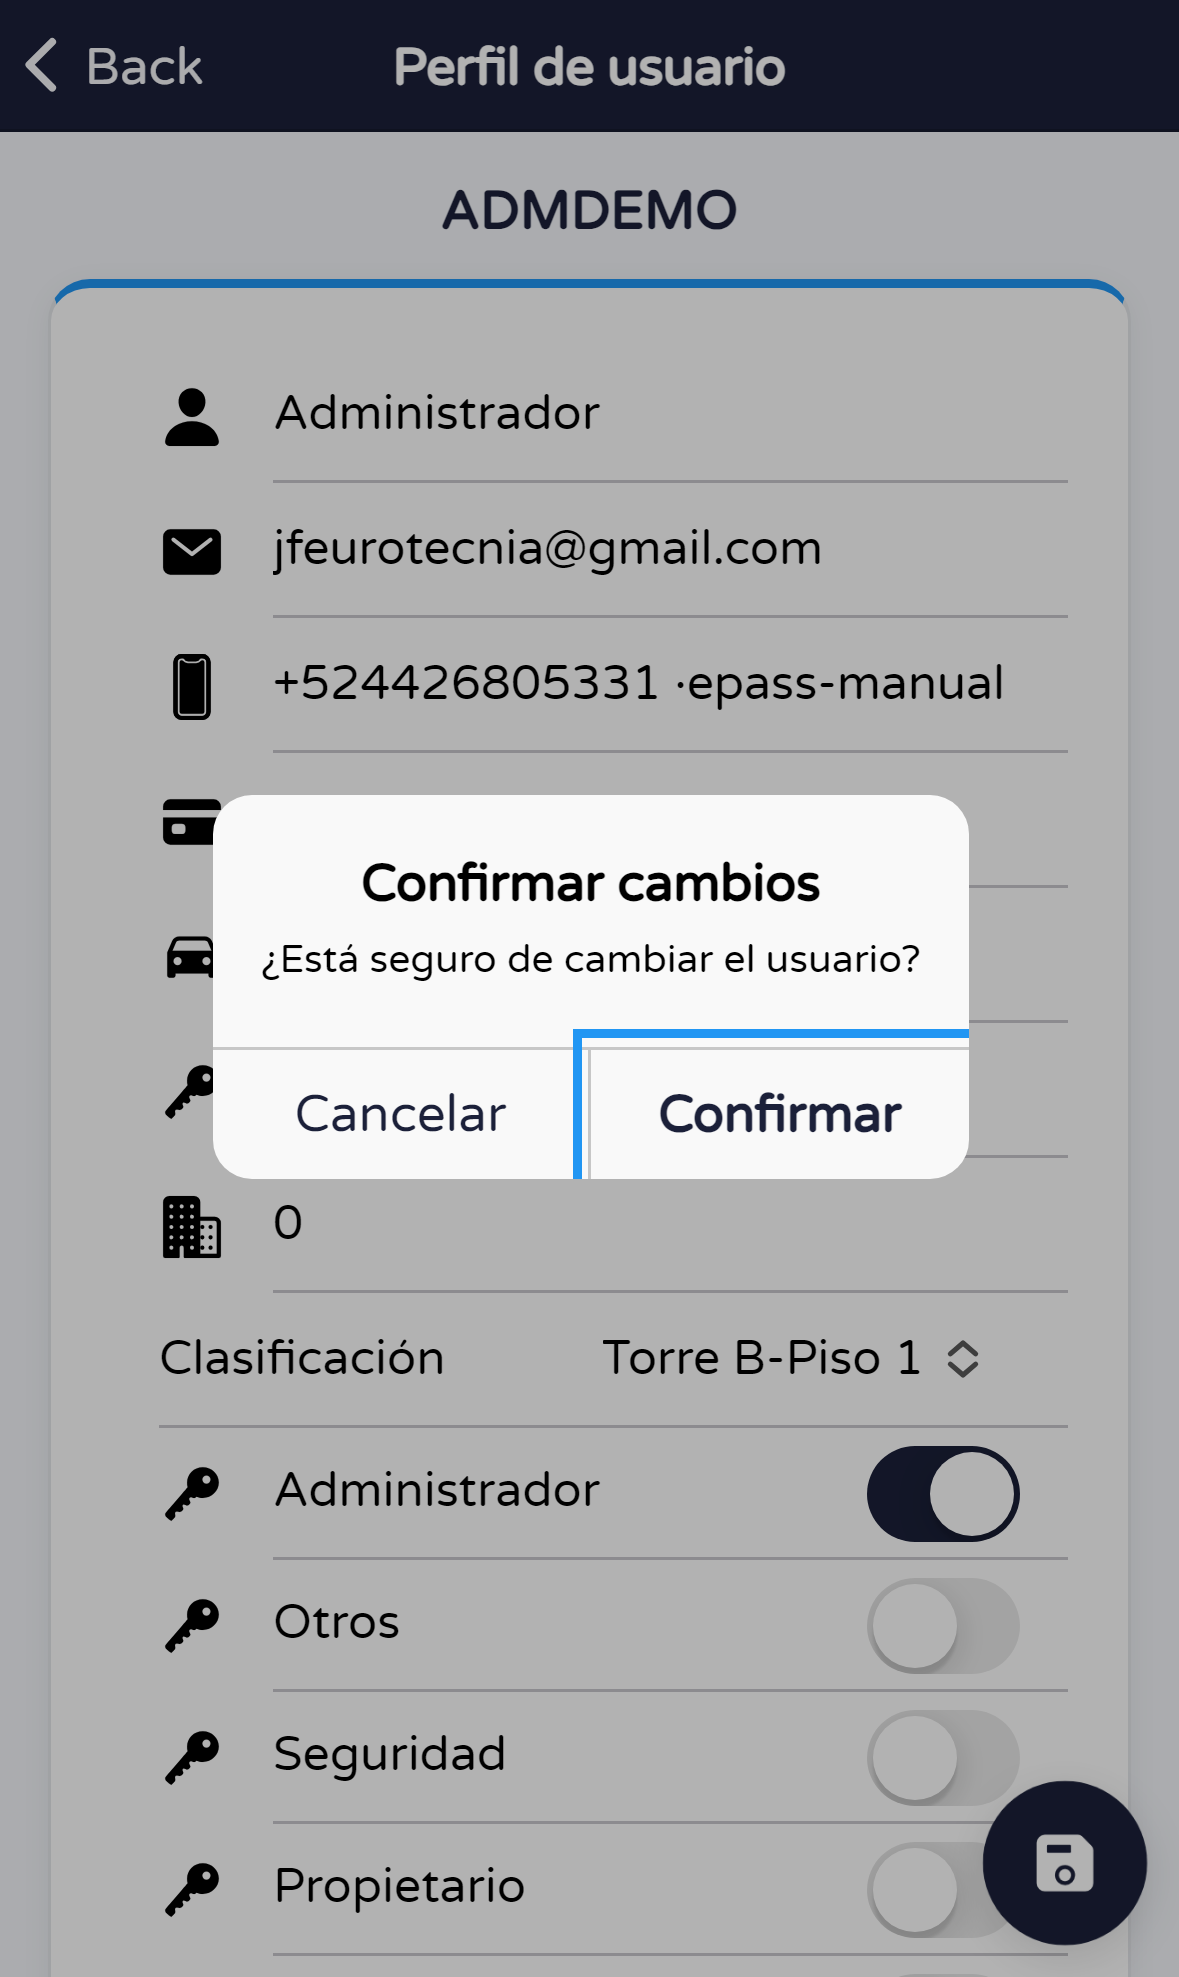
You are now on the screen where you can change that person’s data. Change what you need (this guide shows the phone as an example). When you are done, tap the round Save button at the bottom right (disk icon). The app will ask you to confirm: tap Confirm (or the equivalent word in your language) to apply the changes.
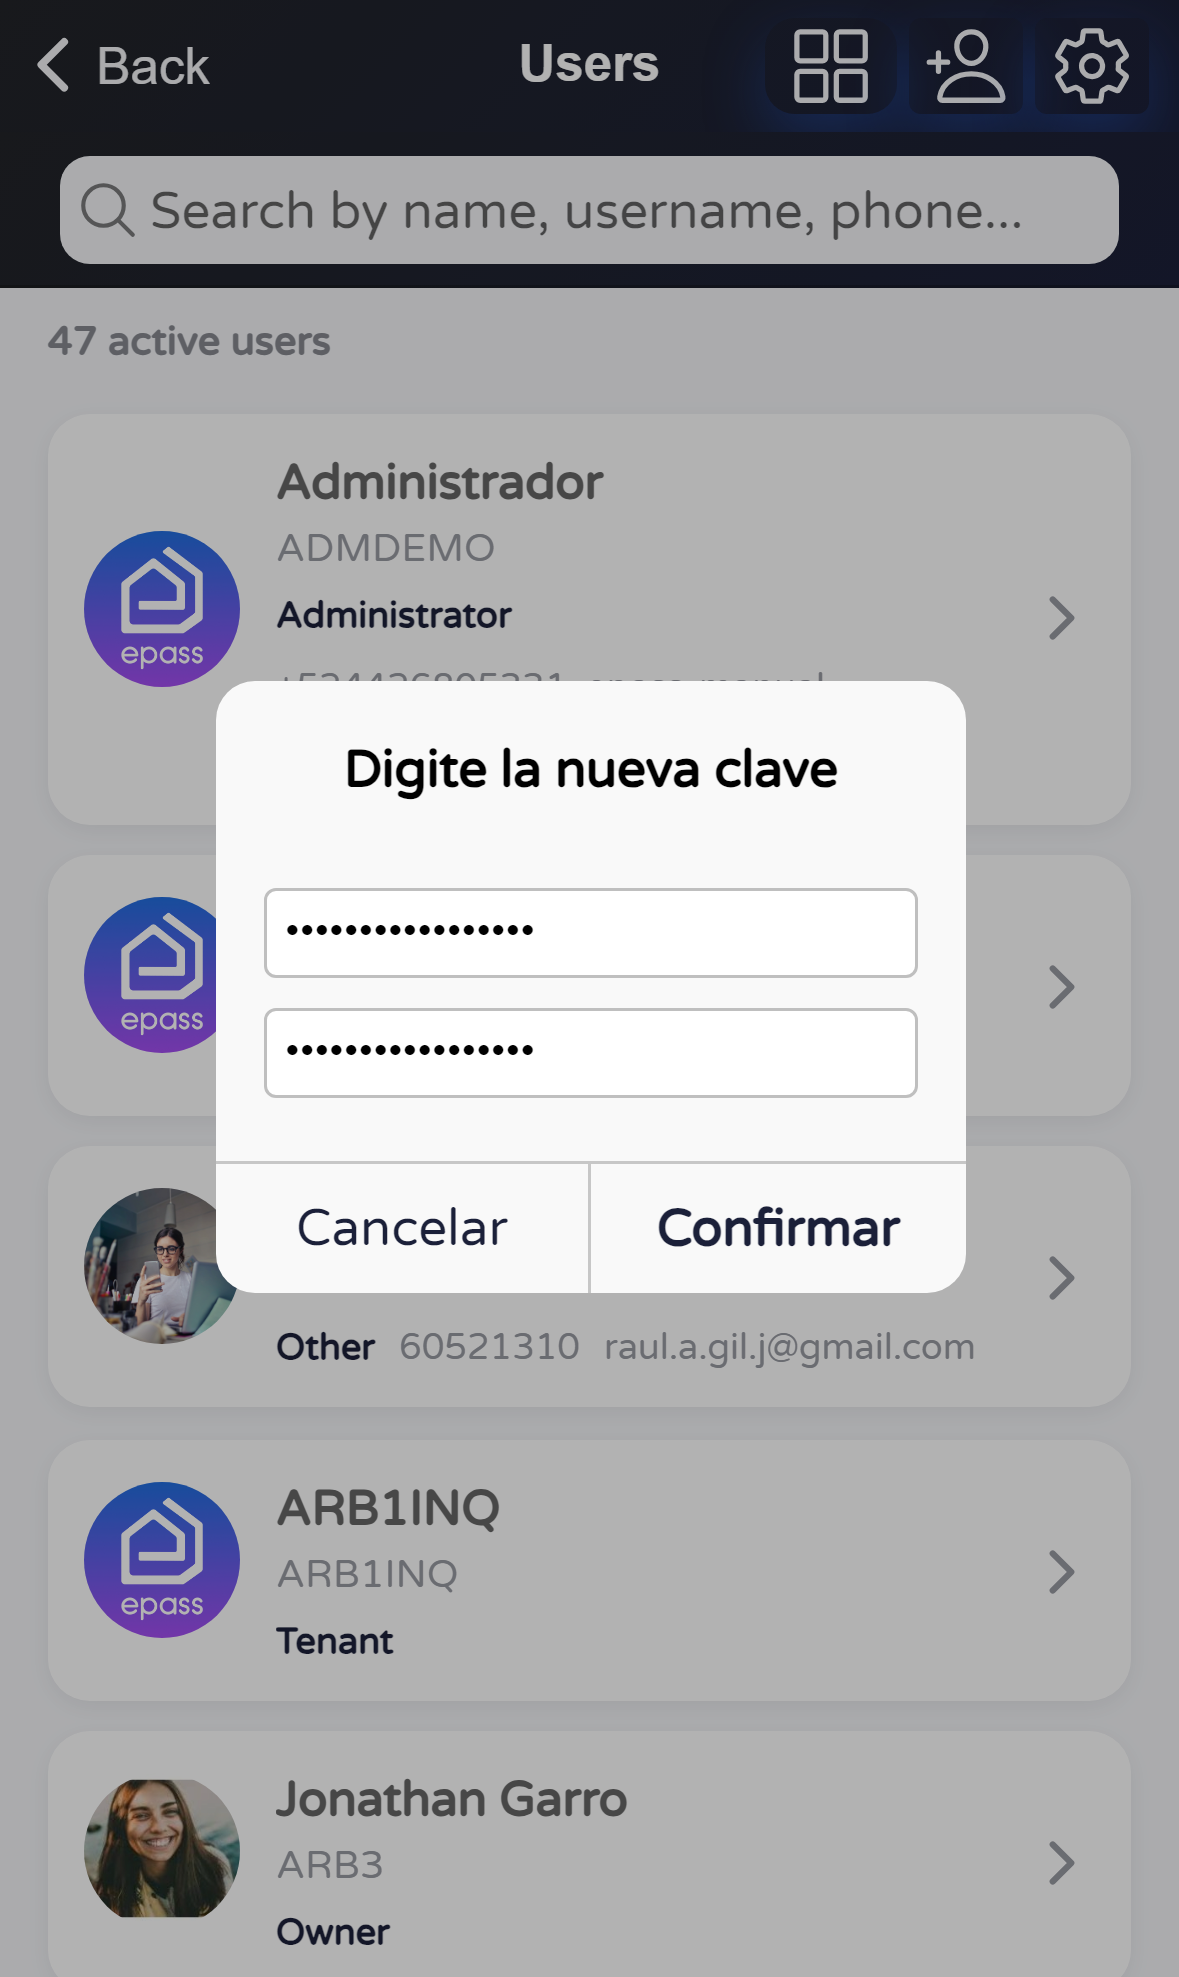
You will open Profile → Security → Users, open one person’s menu, tap Change password, answer the first confirmation, then enter the new password twice in the next dialog.
Tap the person’s card. A menu opens from the bottom. Change password starts the process for that account (next steps).

A message asks whether you are sure. Tap YES to continue to the password fields, or NO to stop. In some app languages the menu may be translated but these dialogs can still appear in Spanish.

Type the new password in the first field and repeat it in the second. Tap Confirm only when both match and you are sure. The app then saves the change and may show a short success notice. Tap Cancel to close without saving.
You will open Profile → Security → Users, open one person’s menu, tap Sessions and devices, and see how the session list looks.
Tap the person’s card. A sheet opens with several actions. The option Sessions and devices is the one that opens the session list for that account (next step).

A window opens with the title Sessions and devices and the person’s name. Each line is one place where they signed in: device name, type of phone or computer, state, and last activity. If a line is marked as This device, that is the phone or computer you are using now. On a line for another device you may use Close session to sign that person out there—they will need to sign in again. Read any confirmation message carefully before confirming.

When you open sessions from the Users list for another person, the app usually does not show a Close all button in the top bar. That is normal for this screen.
Where the app does offer Close all (for example under My sessions for your own account), it ends every active session on every device at once. You will need to sign in again on each device. Use it only when you are sure—for example if you lost a device or suspect someone else used your password.
You will open Profile → Security → Users, open one person’s menu, and locate Send flyer by email. The annex at the end shows the HTML used in the message body.
Tap the person’s card. A menu opens from the bottom with several actions. Choose Send flyer by email only when you really want to send it: the app will queue the message to the address on file. The pictures for this guide stop before sending: use Cancel to close the menu without sending.
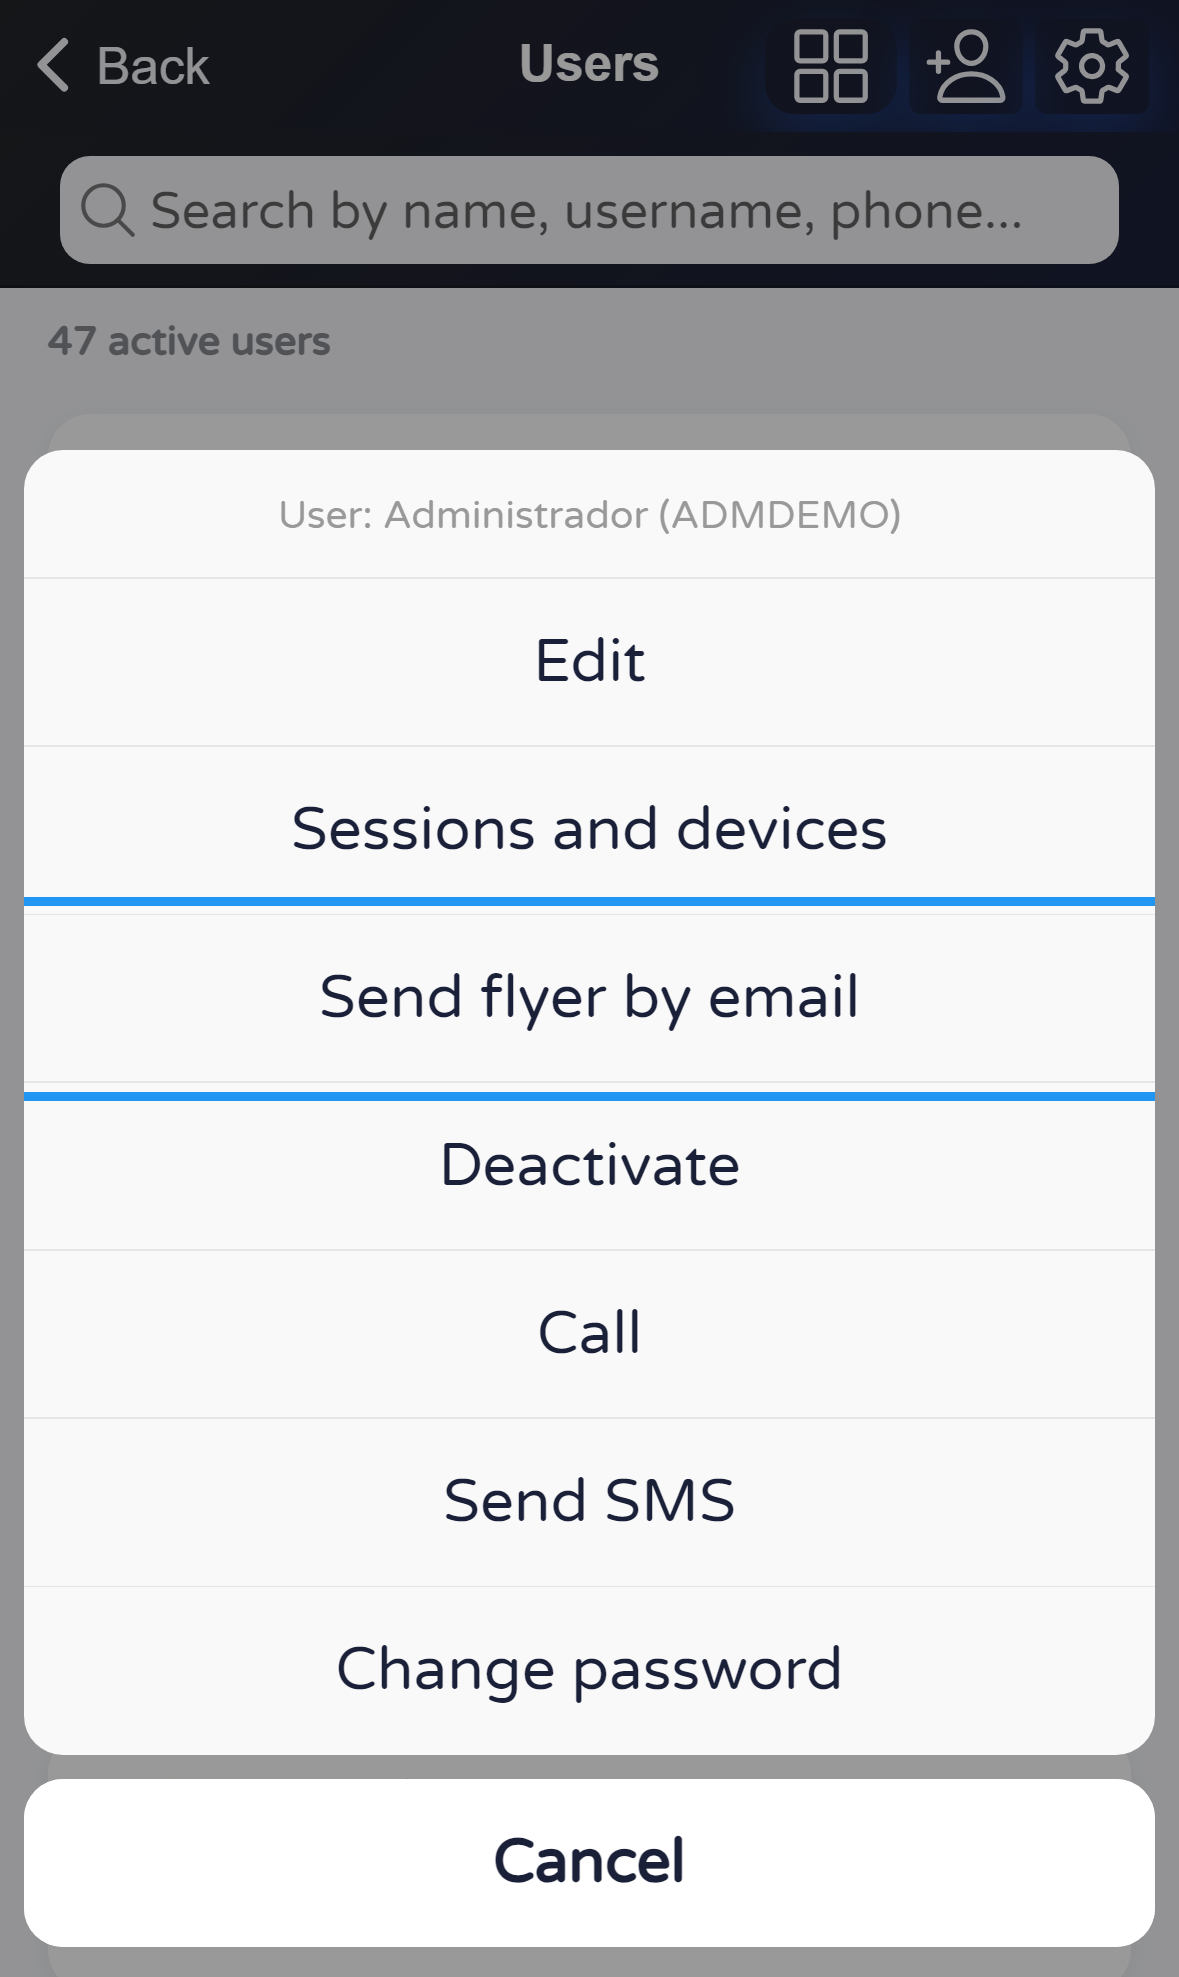
The email has a fixed subject and a body in HTML: the same flyer you can open in the app (official links and store buttons), plus a short notice at the end about the epass community and password recovery. If the flyer file cannot be loaded, the app sends a shorter body with a link to open the flyer in the browser instead.
Annex — HTML used in the email body
The files below match what the app tries to put in the message (same flyer as in the app, plus the closing notice). You can open them in a new tab or save them for your records.
The live app may adjust small details over time; if something does not match what you see in your inbox, trust the message you actually received.
Open or download this HTML file
(folleto-correo-cuerpo-en.html)
You will open Profile → Security → Users, open one person’s menu, tap Deactivate, and read the confirmation before deciding.
Tap the person’s card. A menu opens from the bottom with several actions. Deactivate is the one that starts the process (next step). Do not use it unless you really want that person to stop being active in the list.

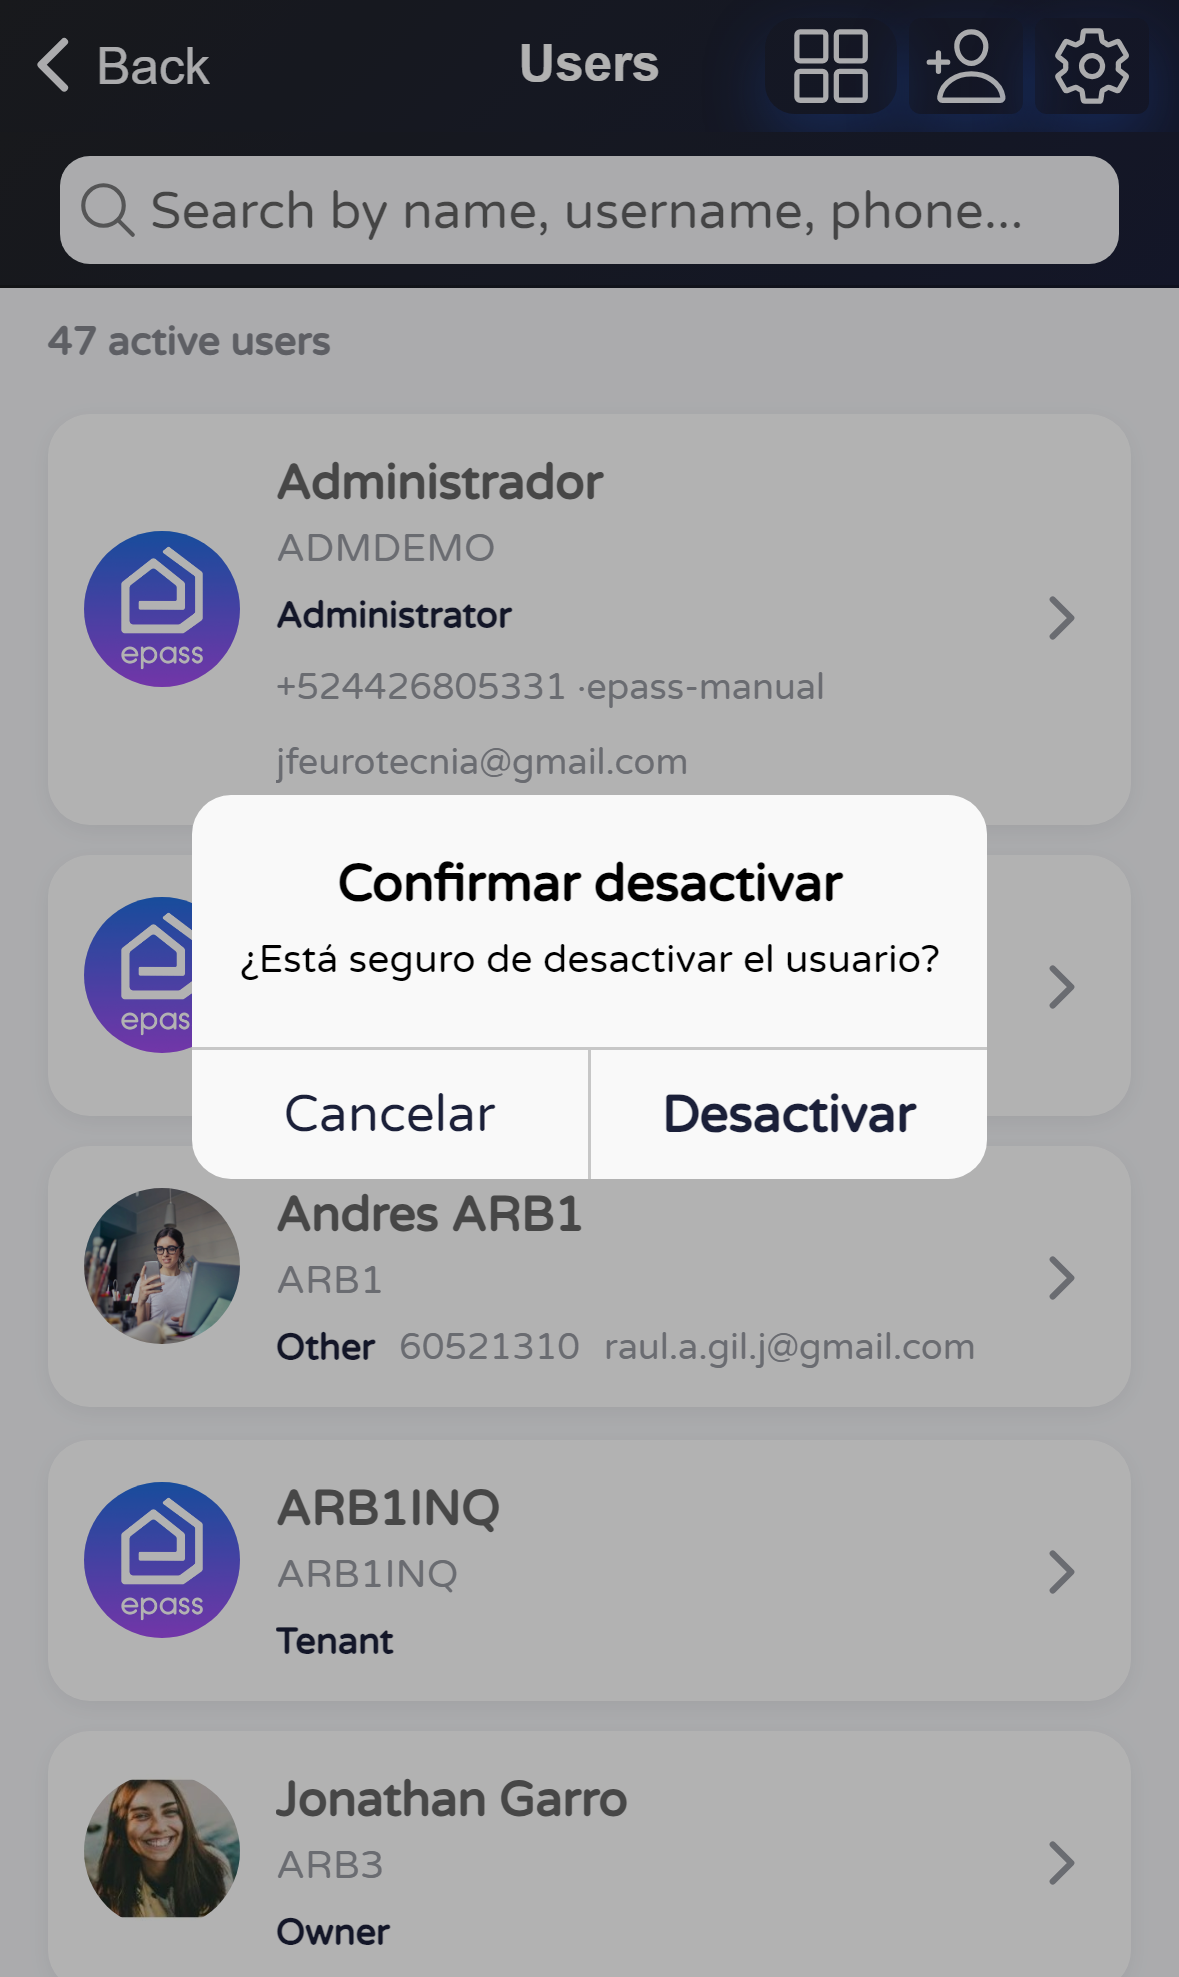
A message asks whether you are sure. If you tap Deactivate (or the equivalent confirm button), the person becomes inactive and disappears from this list. The app may then show a short success notice. If you changed your mind, tap Cancel. In some app languages the menu may be translated but this confirmation can still appear in Spanish.