Step 1
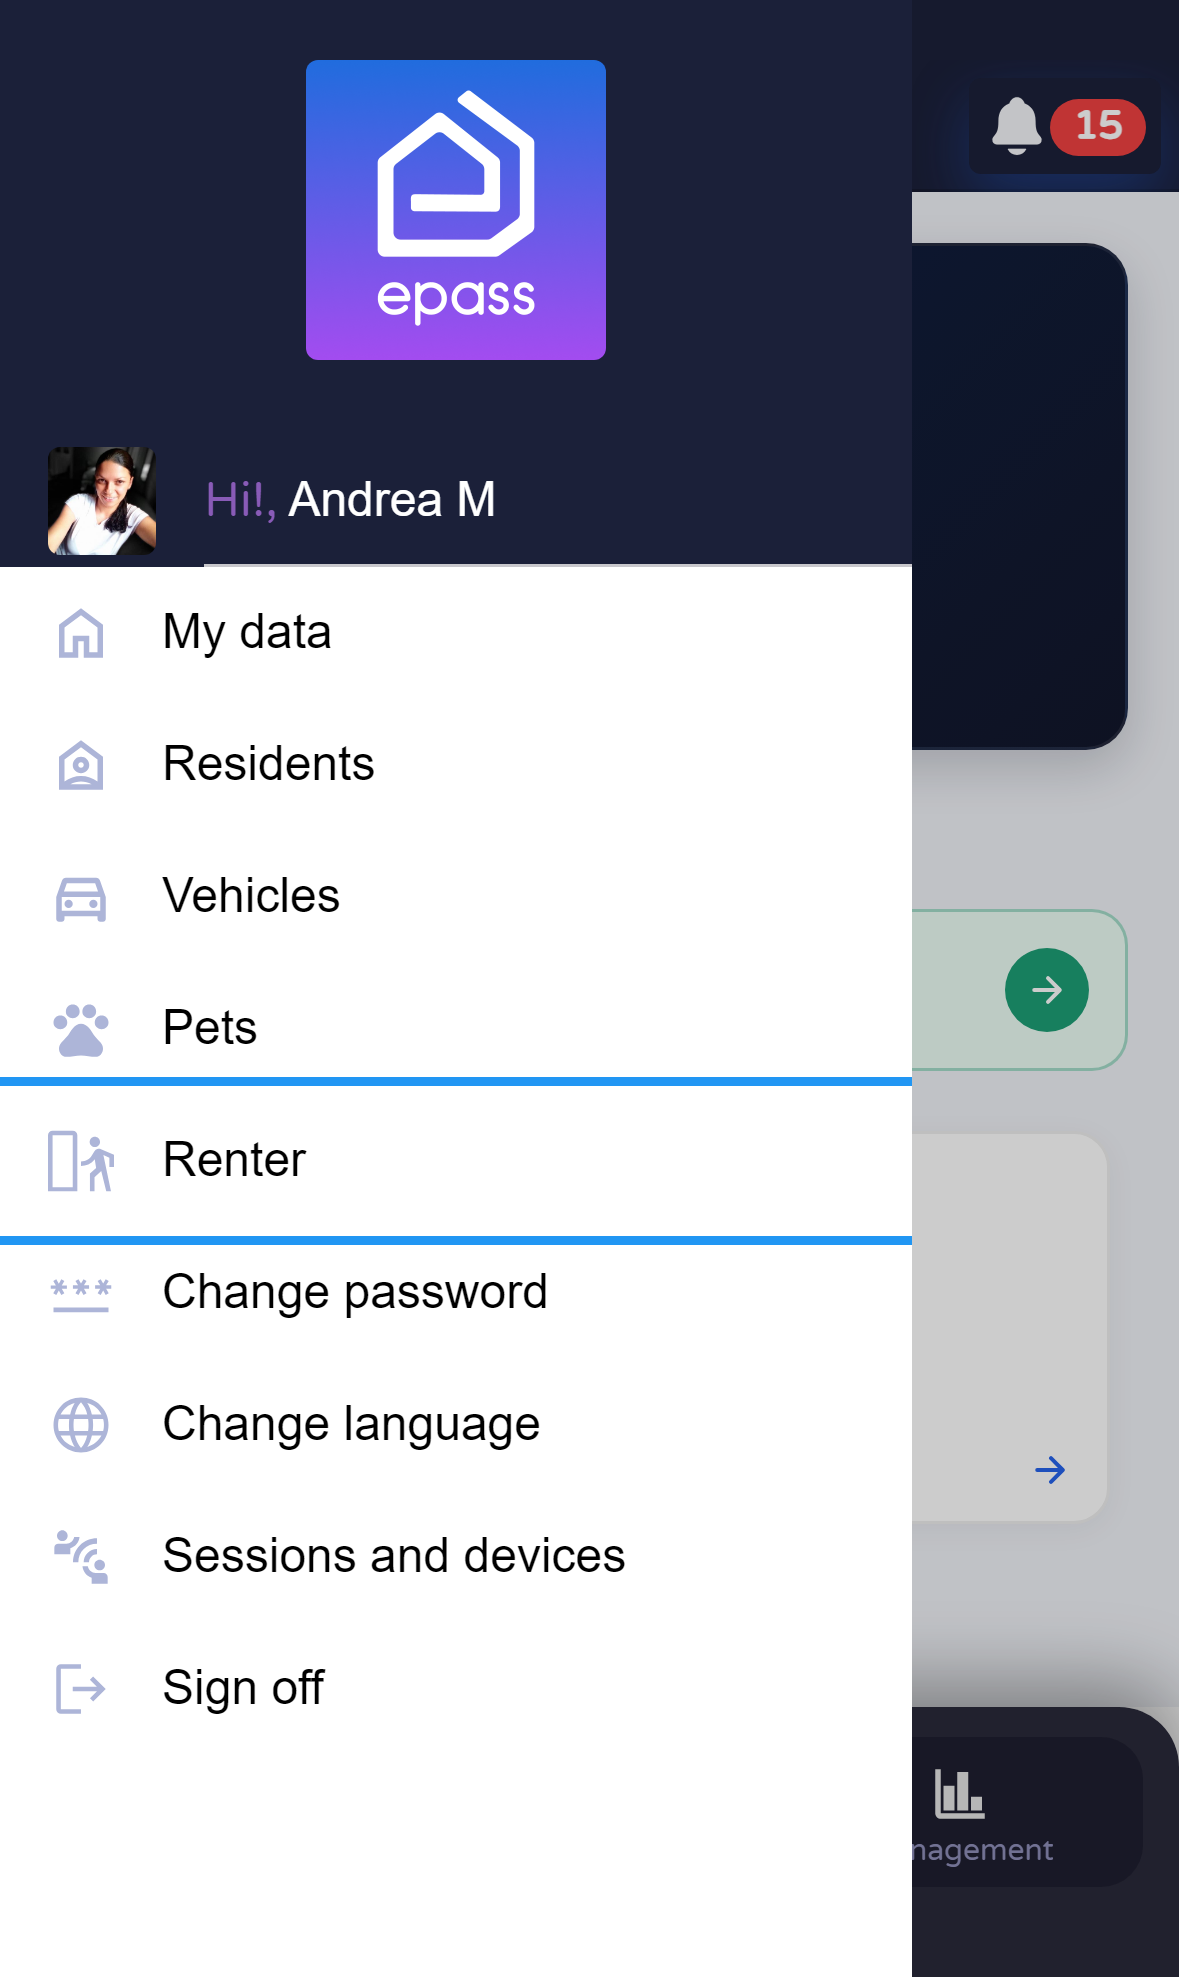
Open the menu and tap Renter
From Home, open the side menu and tap Renter (icon).

Document version 0.0.1 · Generated 20 Apr 2026, 21:06
PDF: in the browser use Ctrl+P (or Cmd+P) → Save as PDF to share or archive.
Steps to activate the renter user linked to your unit, edit their details, and use Send data to renter so they receive their username and password by email.
The renter menu is available to owners when your community enables it. The in-app label may show “Desactivate” for deactivation (wording from the product).
Before you start
What you will do
Open Renter, confirm activation when the list is empty, then use the card menu for Edit, Deactivate, or Send data to renter.
Steps
From Home, open the side menu and tap Renter (icon).
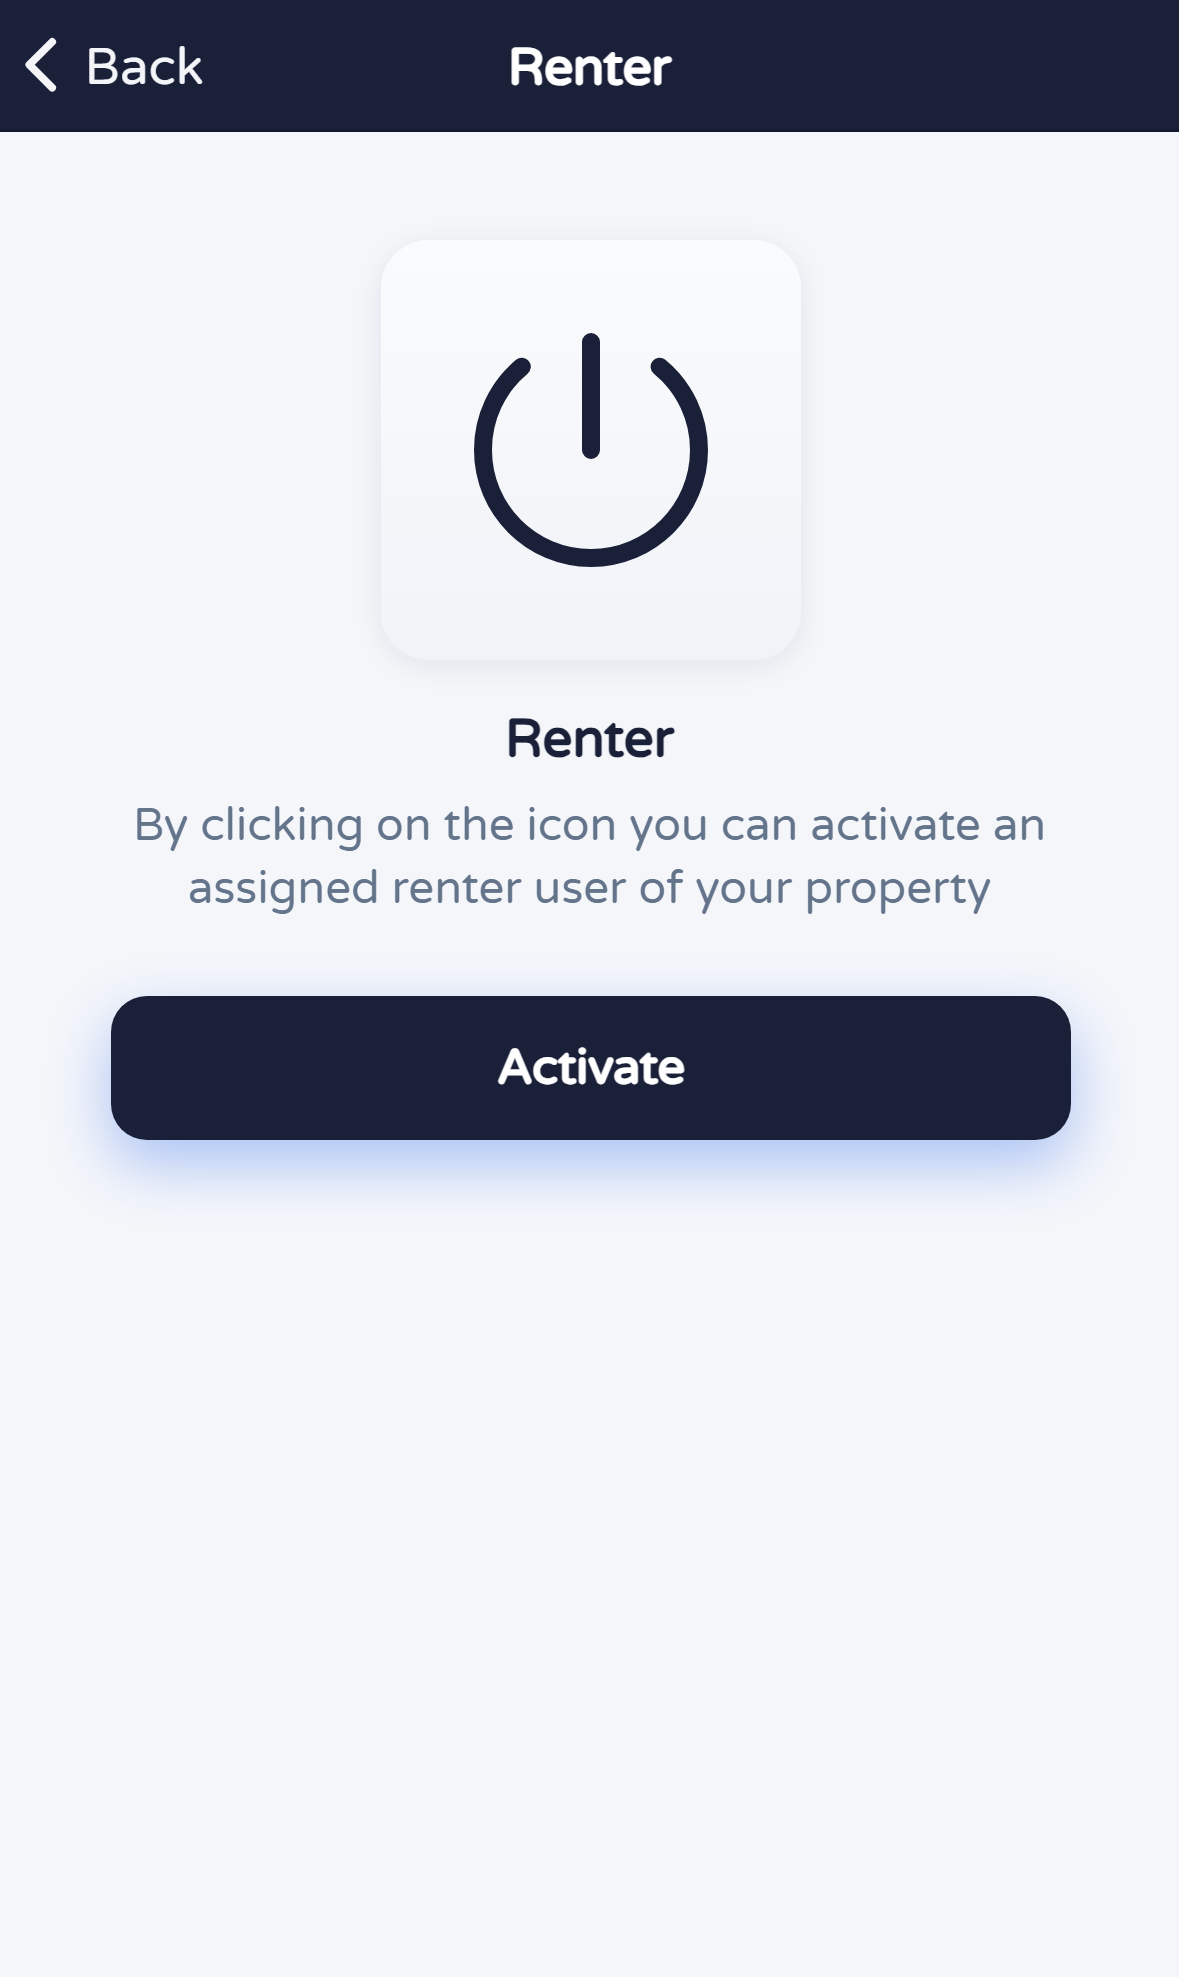
If no renter is active, you see a hint and an Activate button. If one is already active, deactivate it first (card menu → Deactivate) to return to this state for documentation.
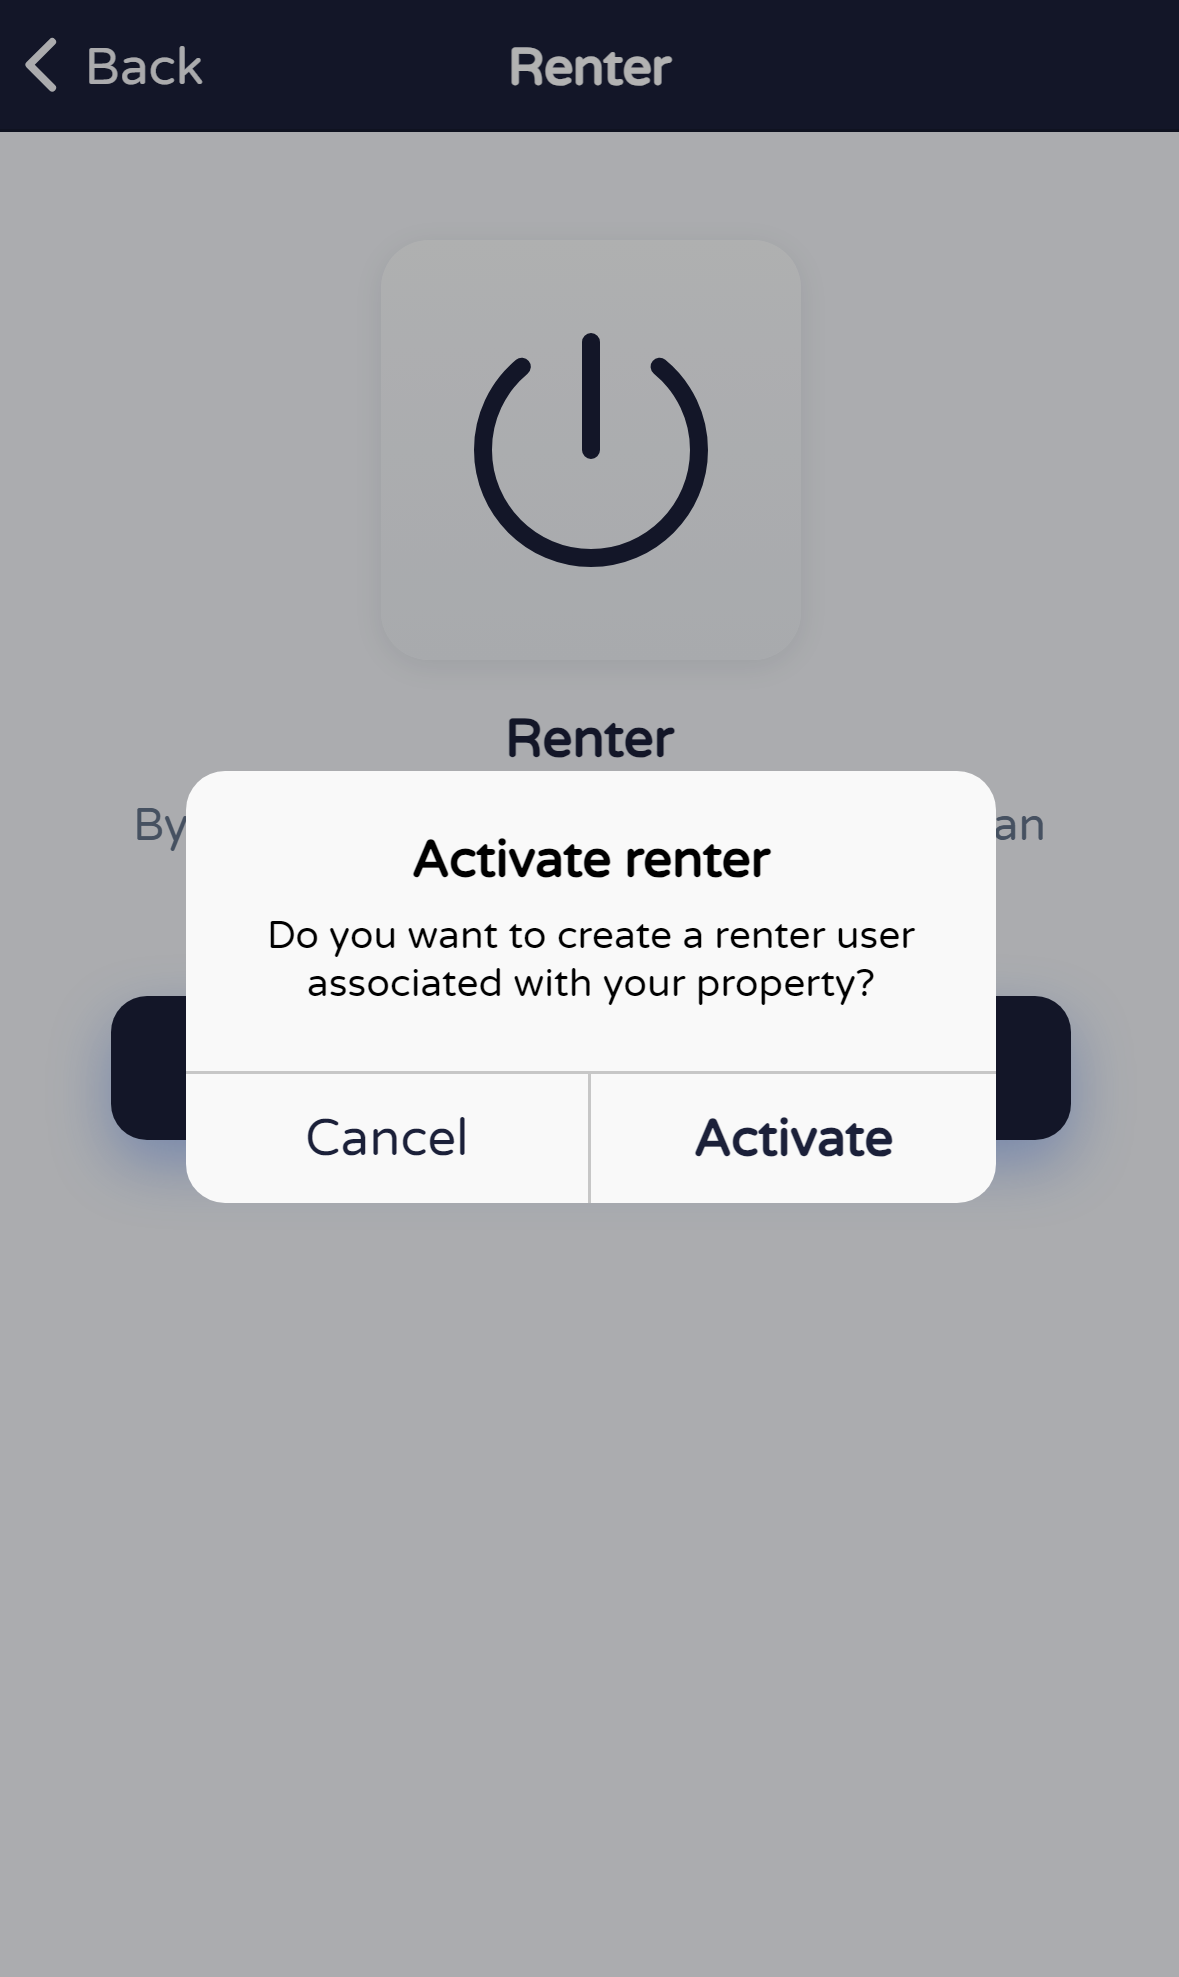
Tap Activate. A confirmation dialog explains that a renter user will be created for your property. You can Cancel or confirm Activate. The app generates a temporary numeric password stored in EPASS.
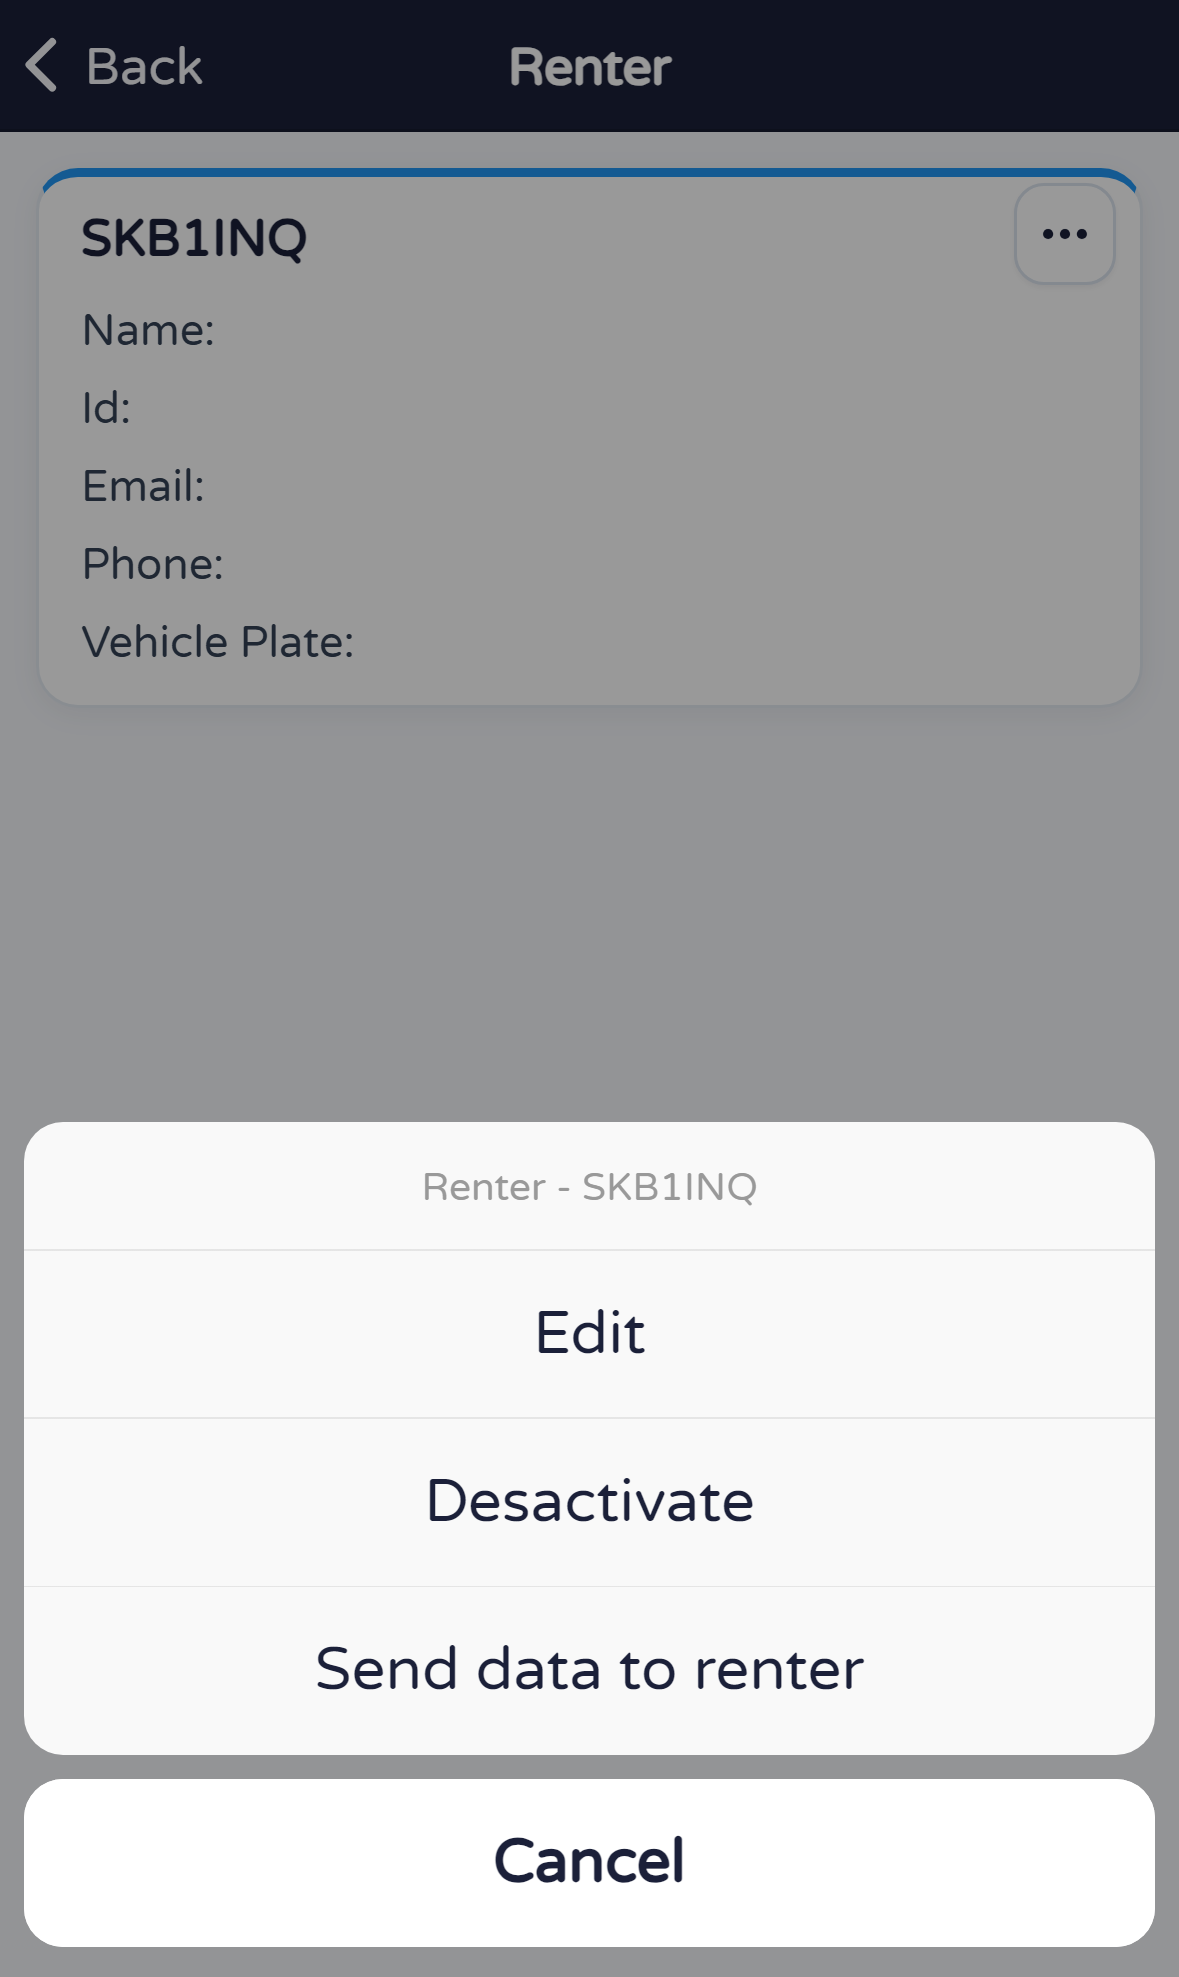
Tap the renter card or the ⋯ button. The sheet offers Edit, Deactivate (hides the active renter), and Send data to renter (email with credentials).
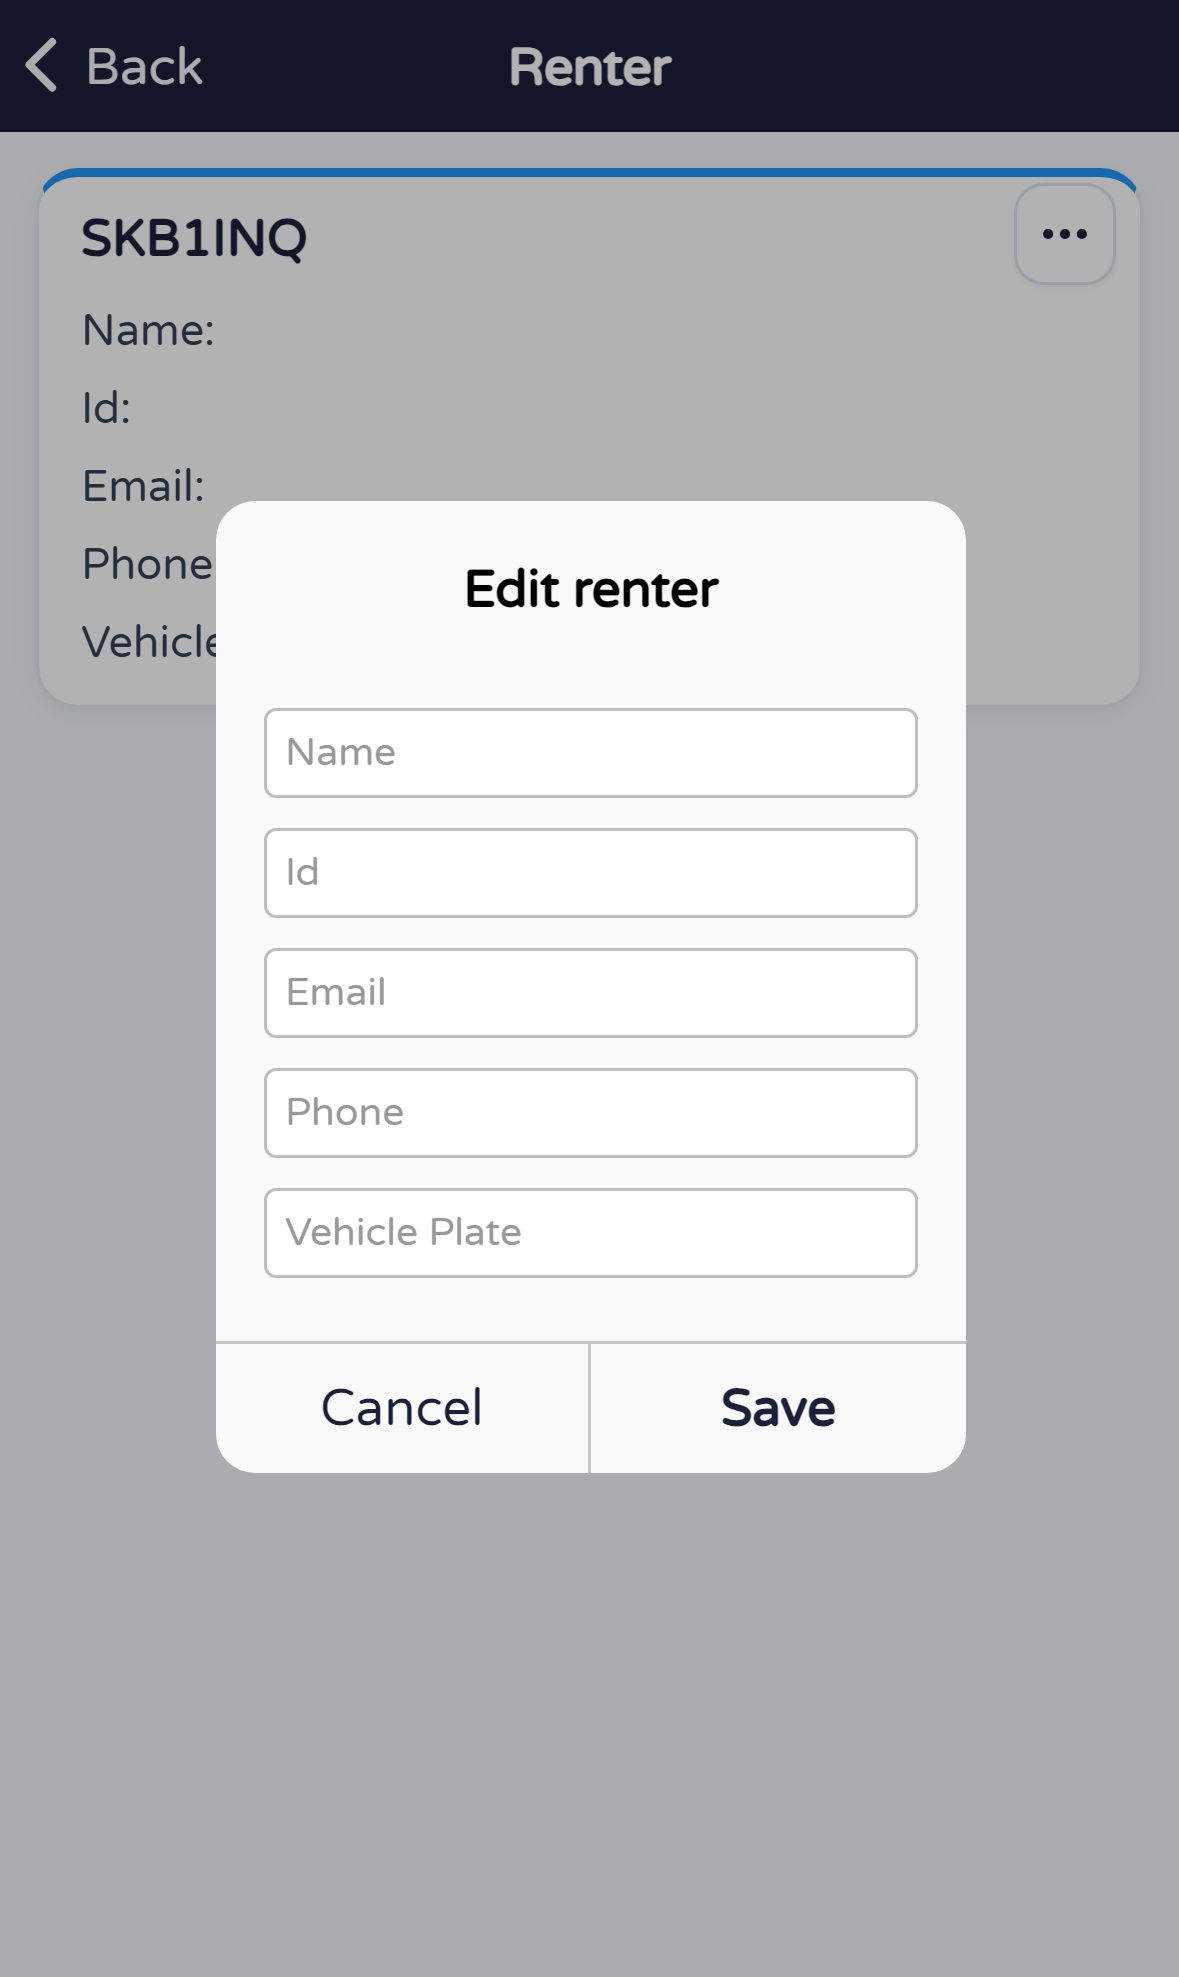
Choose Edit to change name, ID, email, phone, and vehicle plate. Confirm with Save or cancel without saving.
Sending login details (“Send data to renter”)