Step 1
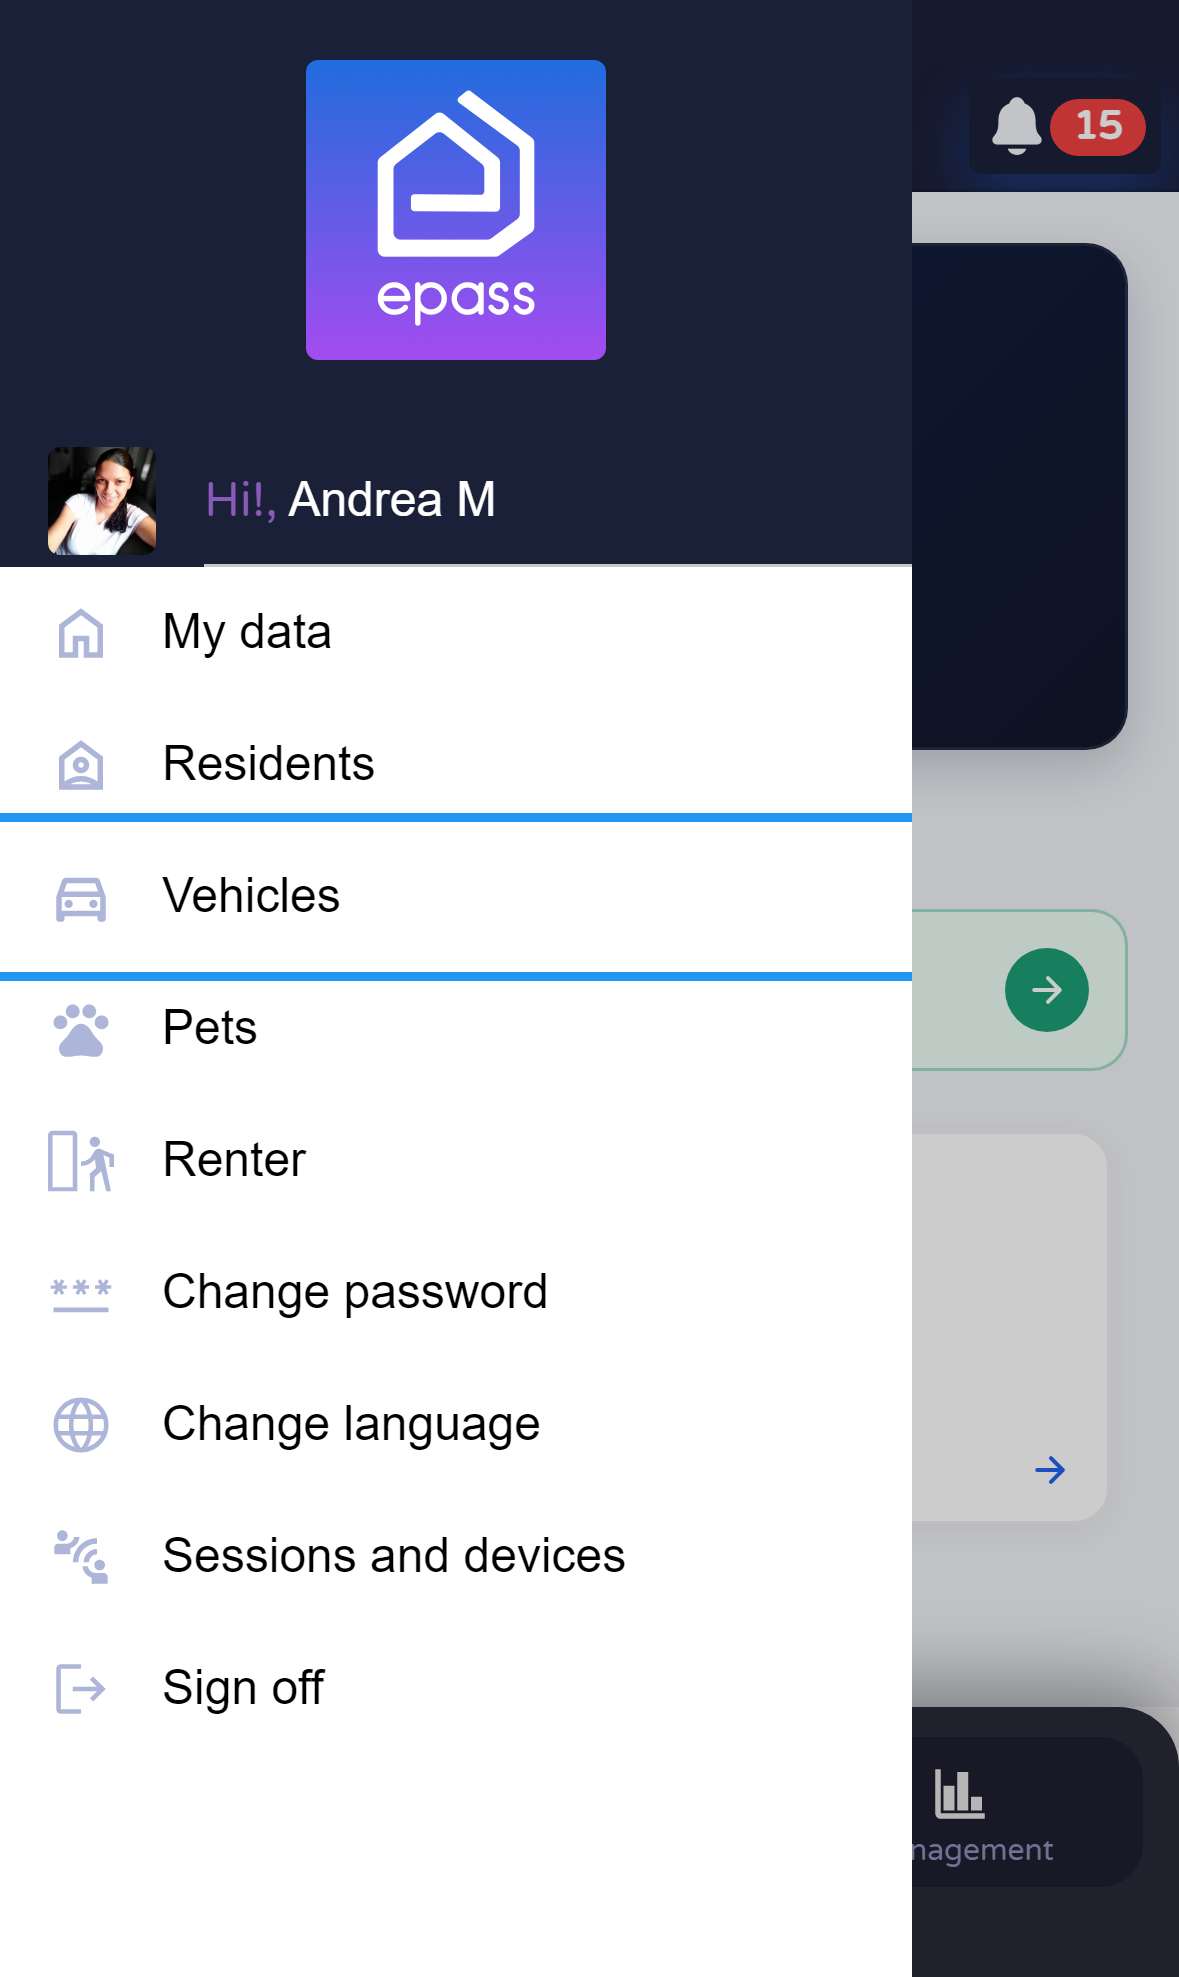
Open the menu and tap Vehicles
From Home, open the side menu and tap Vehicles (vehicle icon).

Document version 0.0.1 · Generated 20 Apr 2026, 20:46
PDF: in the browser use Ctrl+P (or Cmd+P) → Save as PDF to share or archive.
Steps to add, edit, or delete vehicles linked to your unit from the side menu.
Your community may limit how many vehicles you can register; if saving fails, read the message on screen.
Before you start
What you will do
Open Vehicles from the menu, use Add to create an entry, and use the card menu to edit or delete.
Steps
From Home, open the side menu and tap Vehicles (vehicle icon).
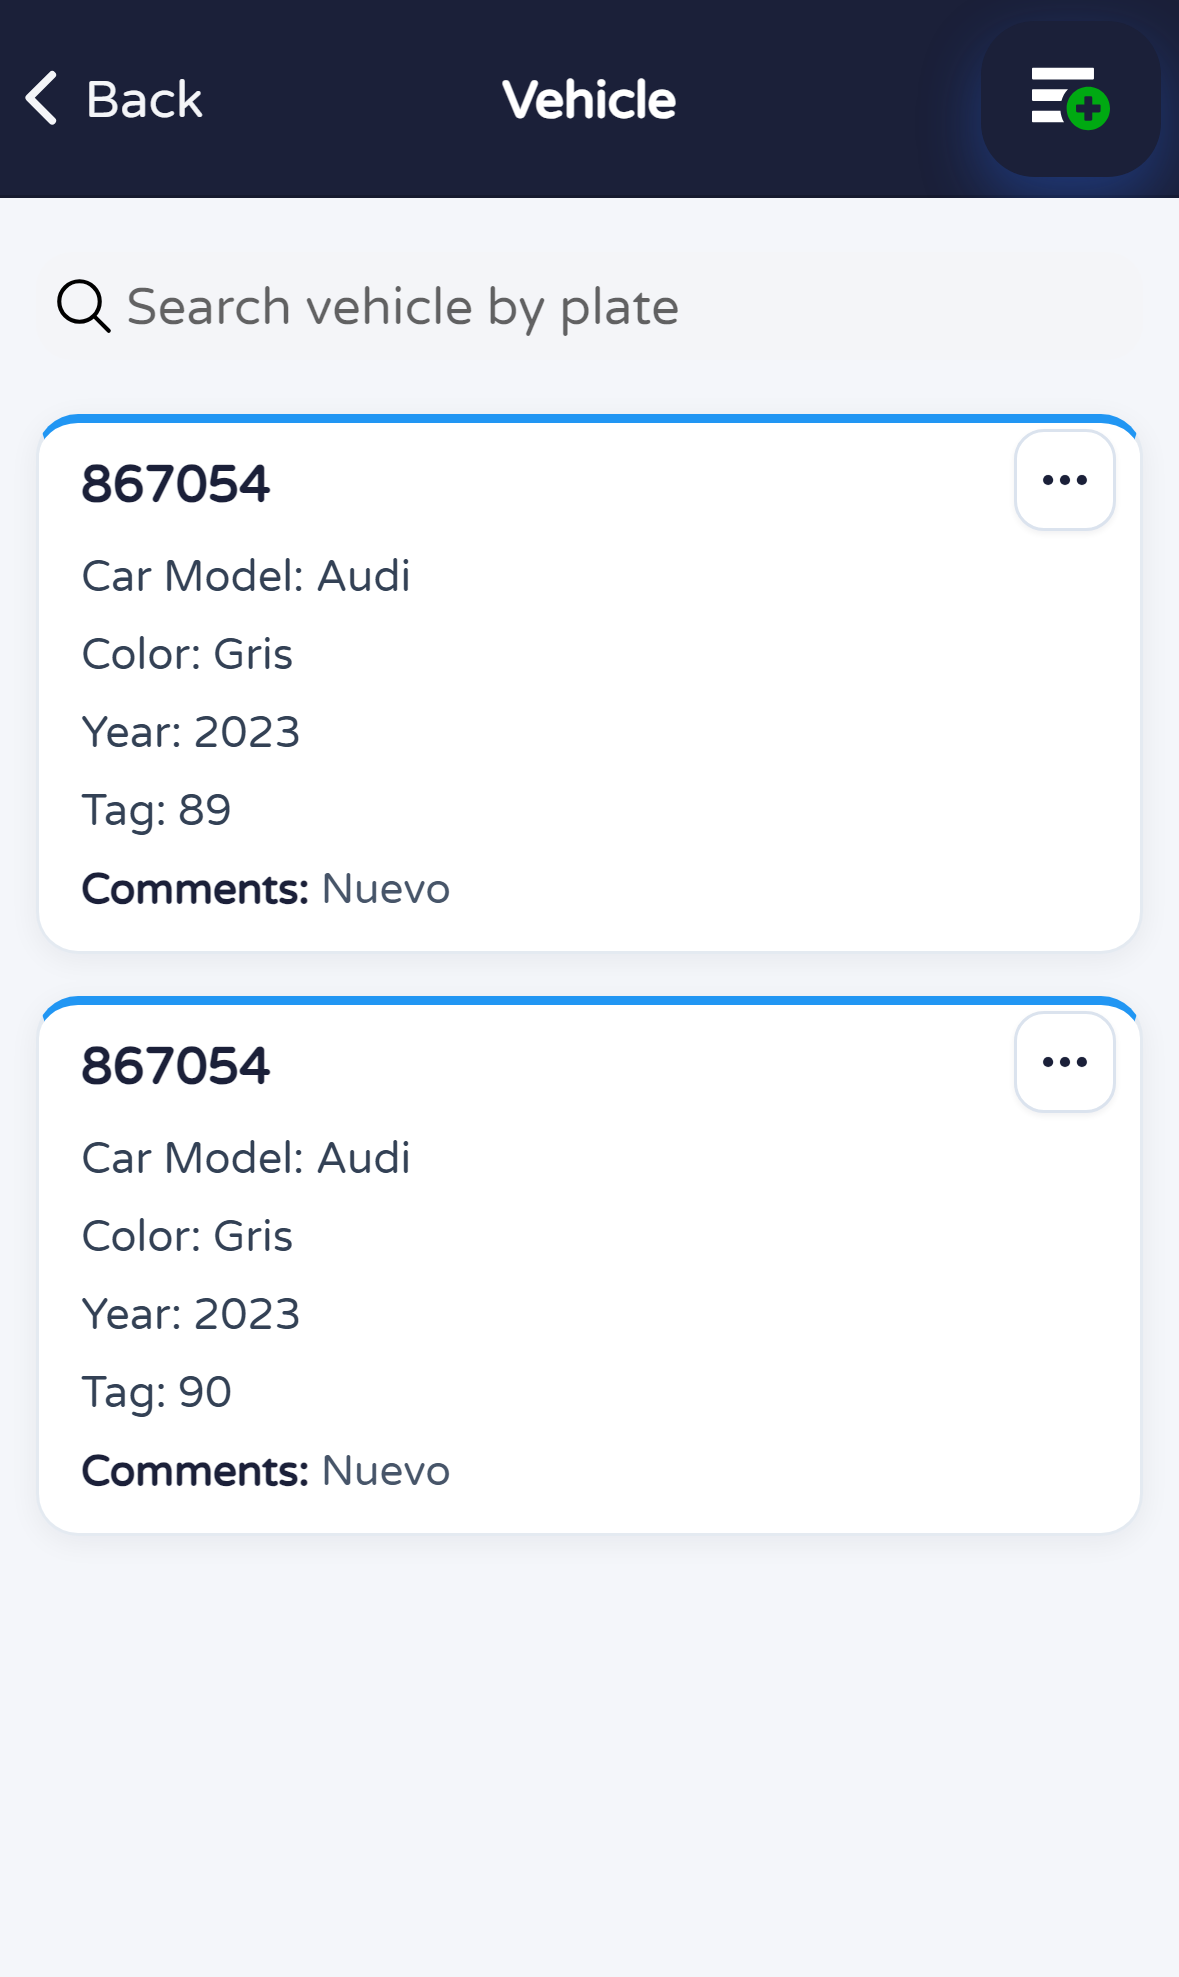
The screen lists registered vehicles with search by plate. Use the + button in the header to add a new vehicle.
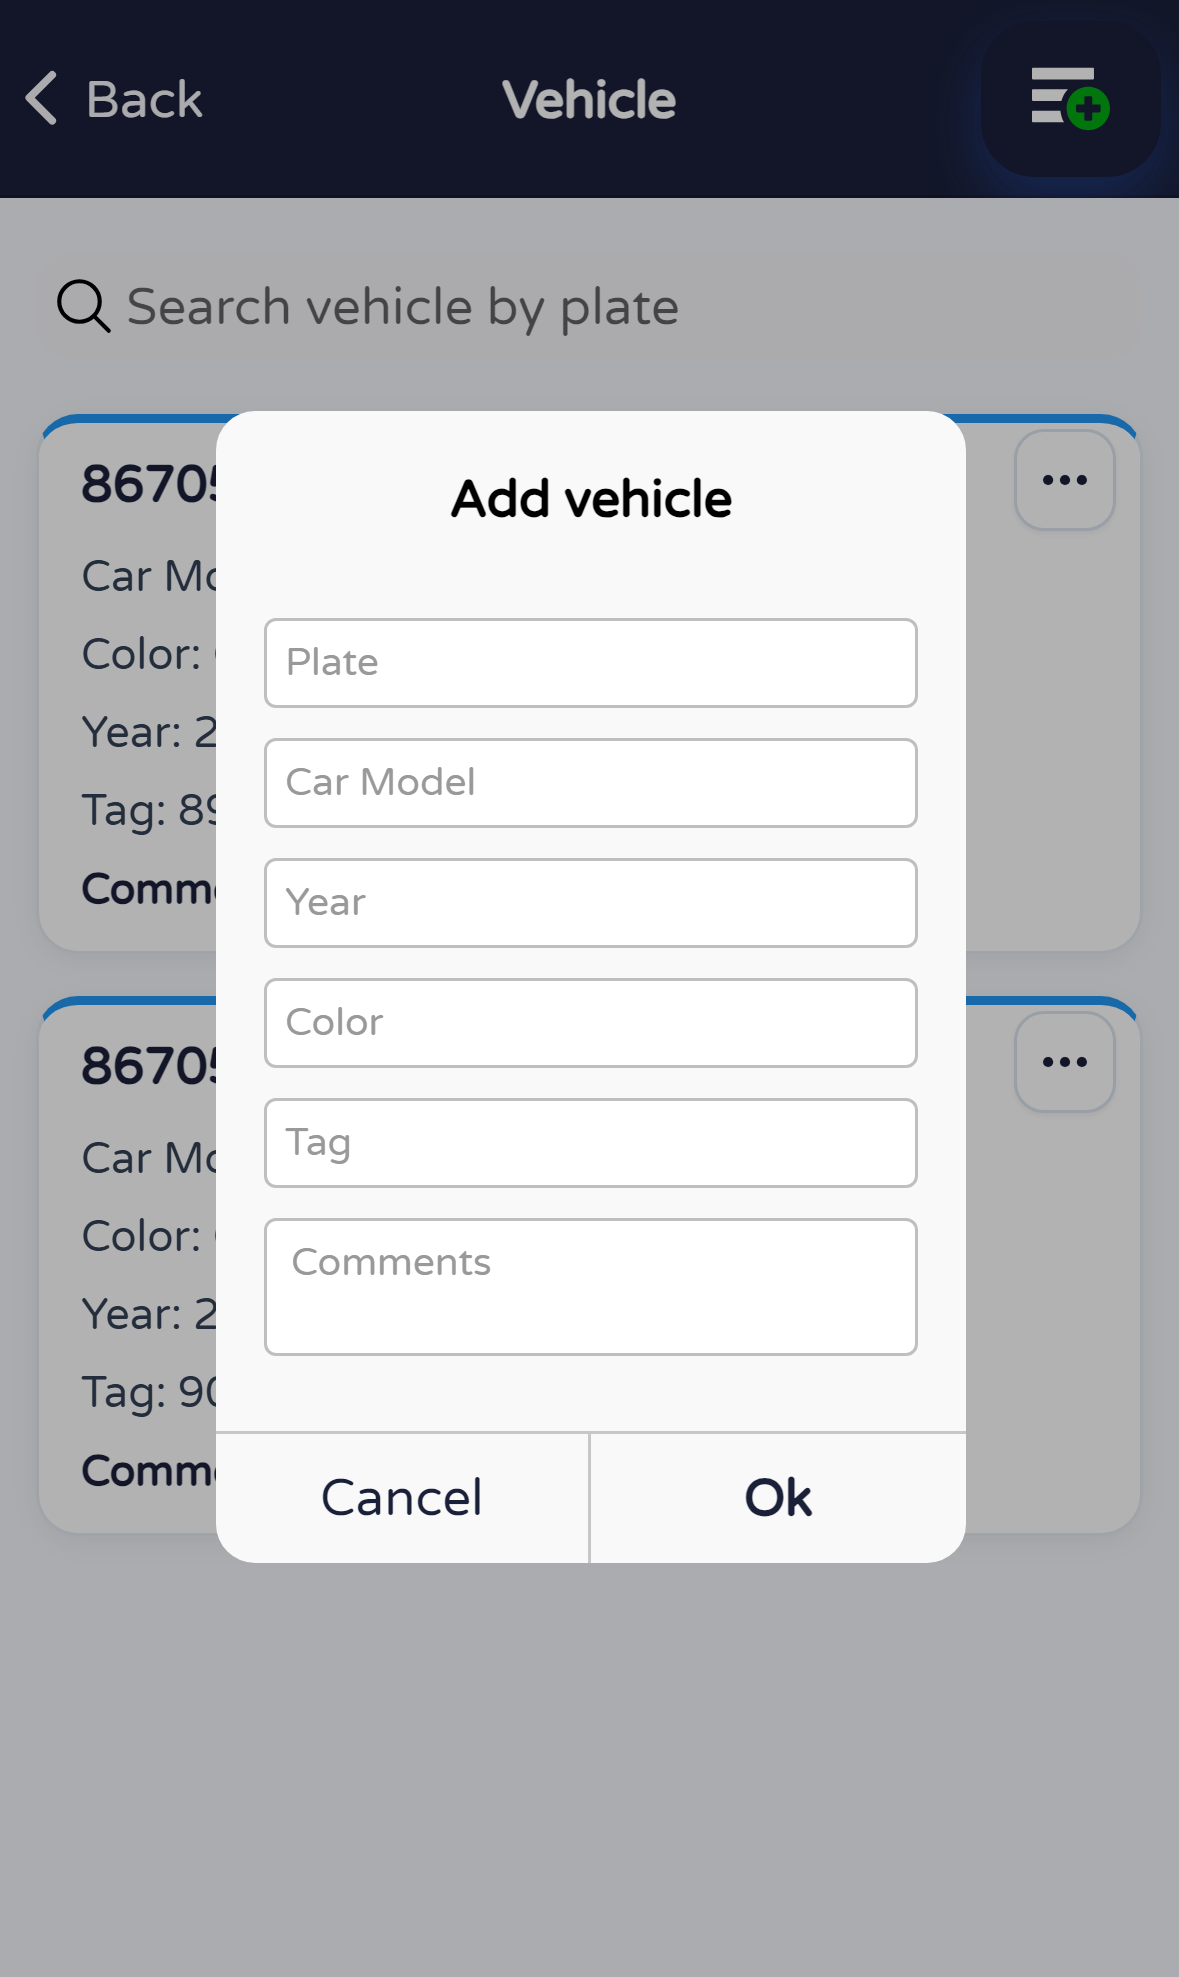
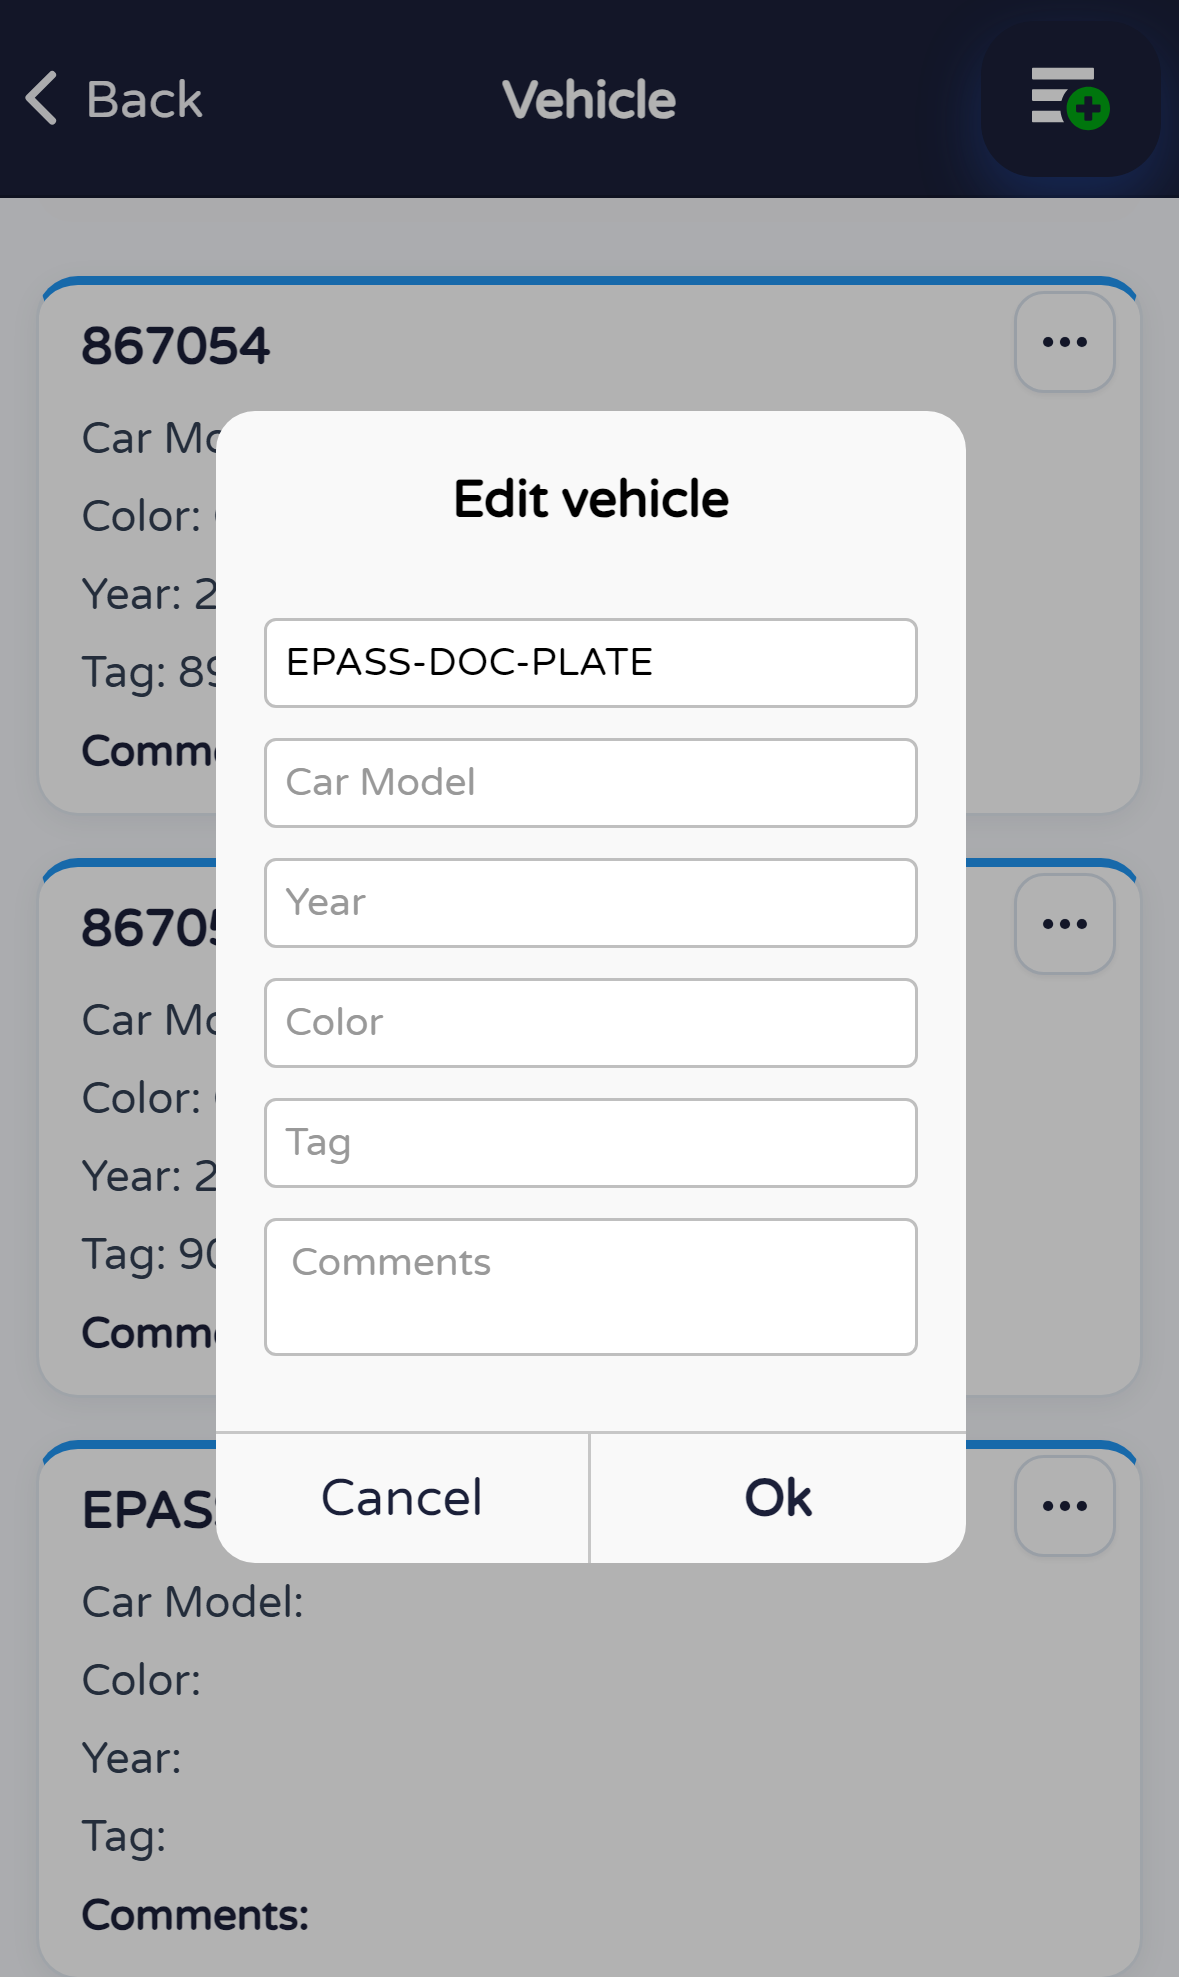
Tap + and complete the fields (at minimum plate). Confirm with Ok or cancel to go back.
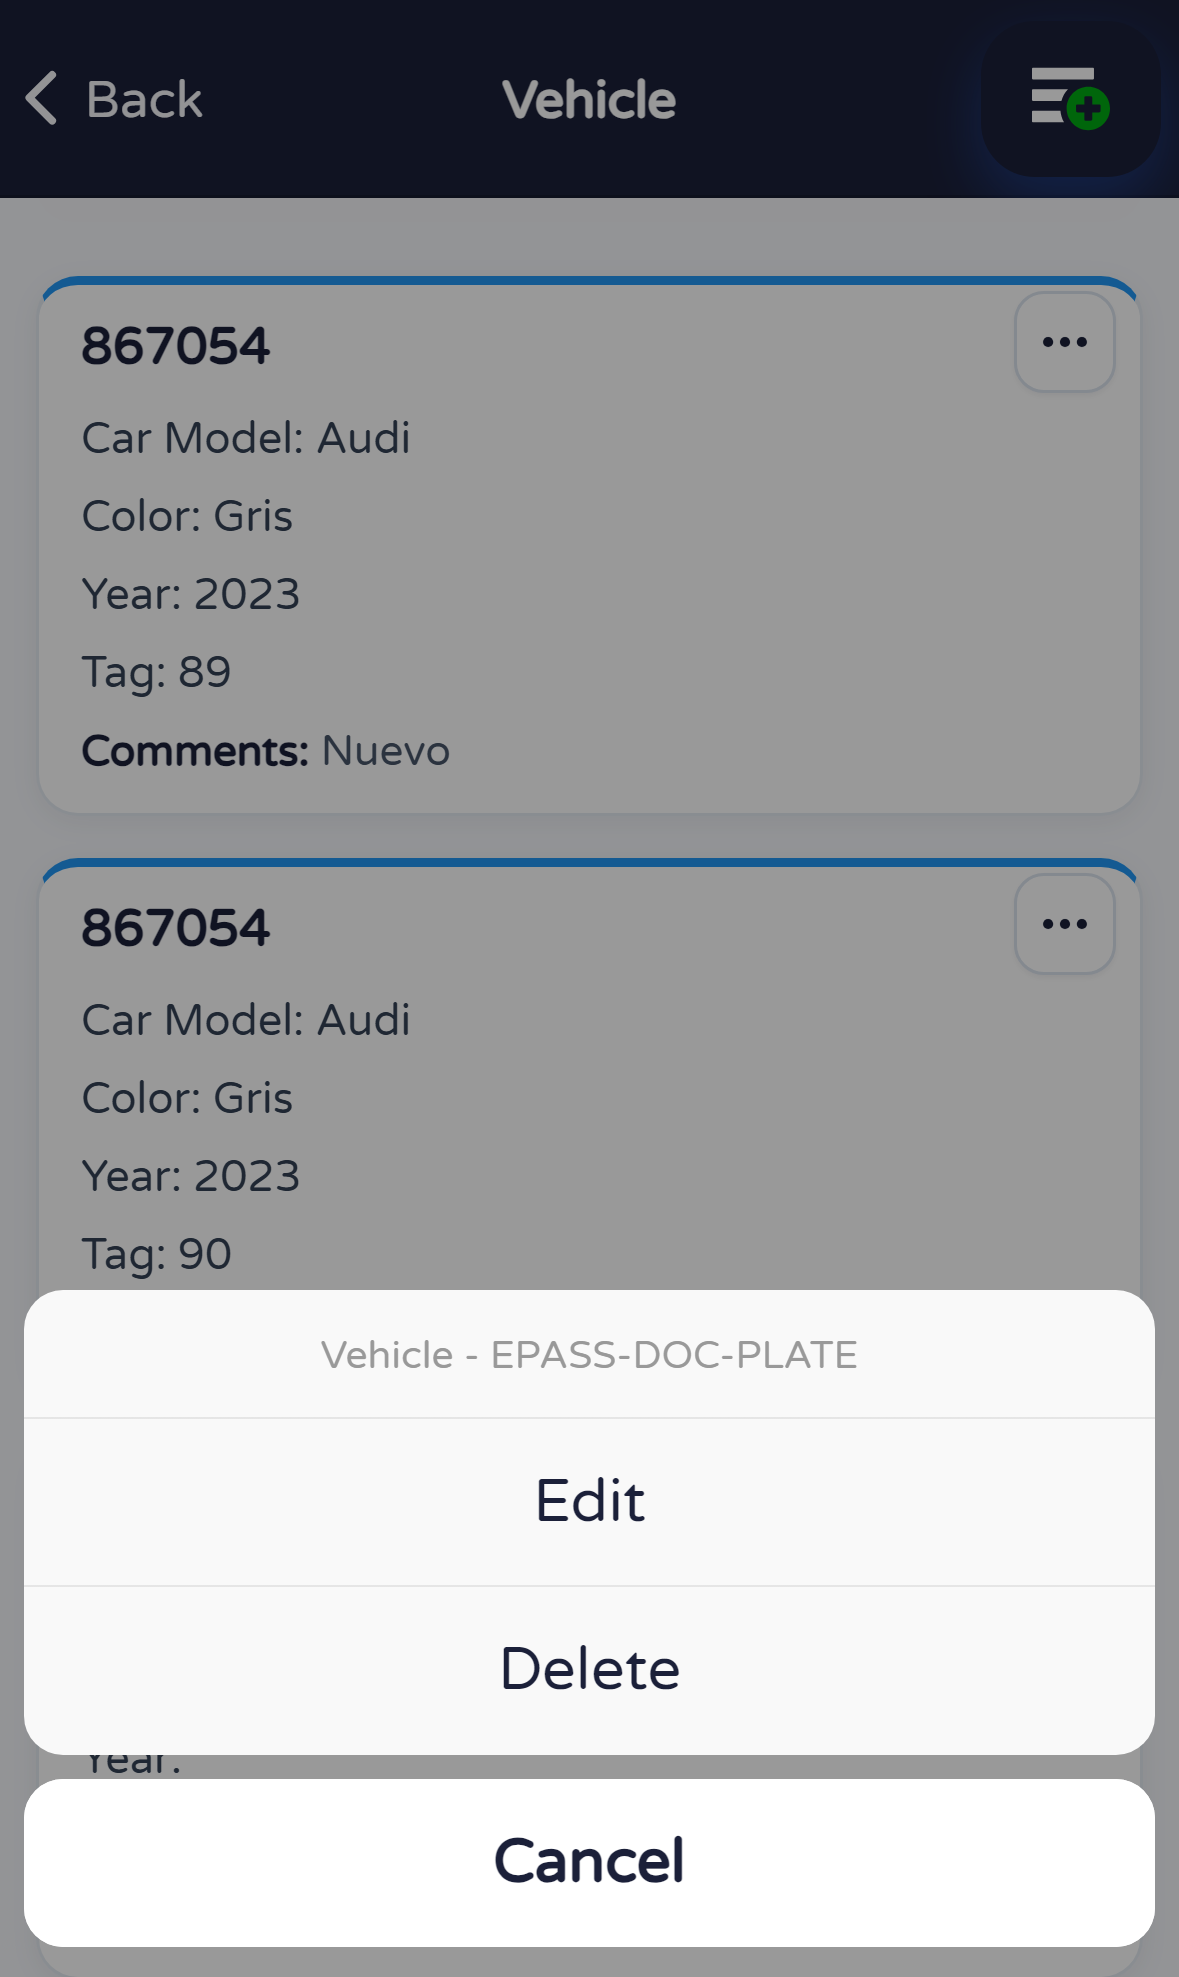
Tap a card or the ⋯ button. Choose Edit to change data or Delete to remove the entry (deletion applies immediately).
In Edit vehicle, update the fields and confirm with Ok, or cancel without saving.
Quick tips